Step 3: Log In

Last updated: June 23, 2026Latest Frontend Version: 2.17.3
This page covers User Account login

For Site-Key Admin login, see Site-Key Admin Training. For Escrow User login, see Escrow User Training.

Load Your Private Key
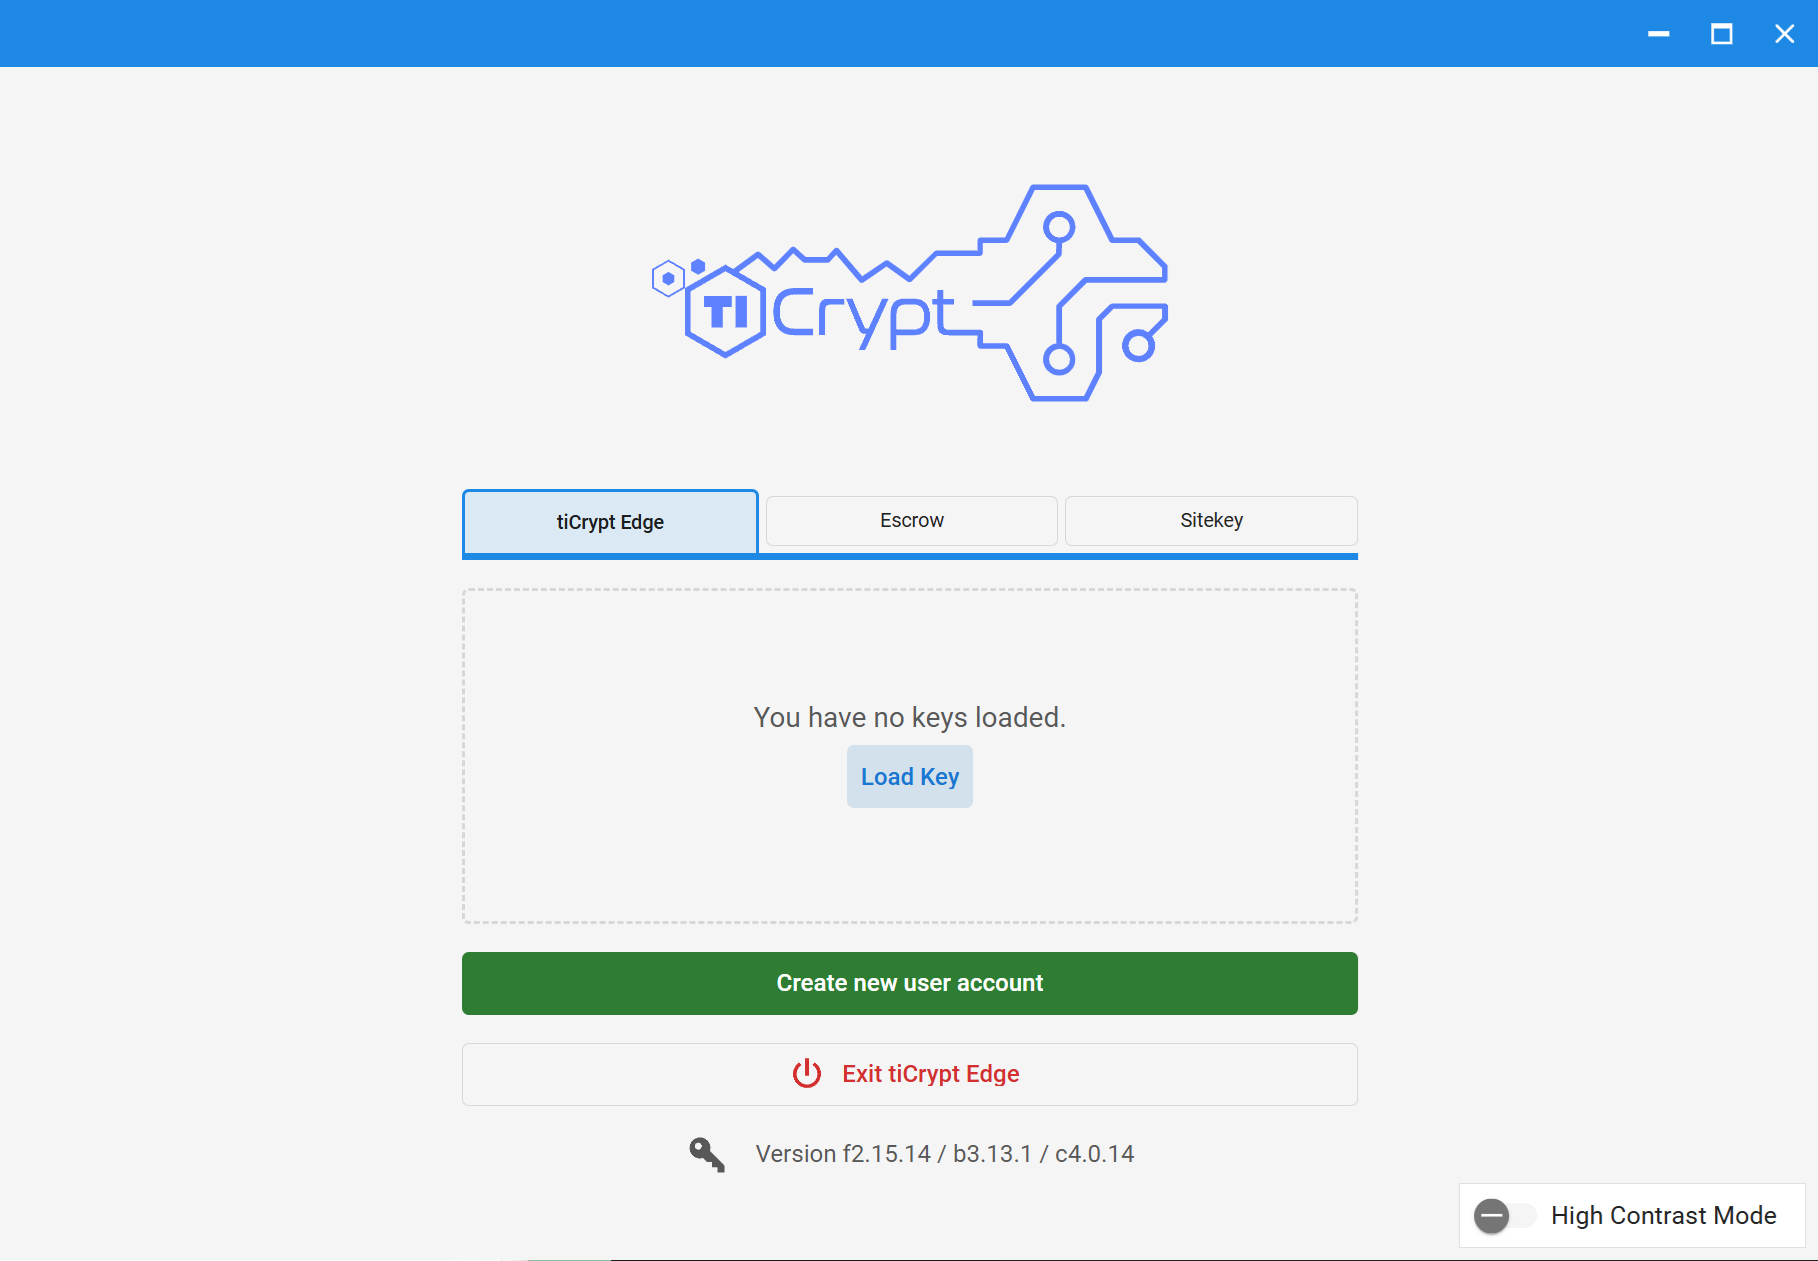
tiCrypt login page showing the Load Key button for importing a private key

  1. Open the Connect Application.
  2. Select your deployment card.
  3. Click the Load Key button in the center.
  4. Find and select your private key file your-user-name(mm-dd-yy).key.
  5. Click Open.
note

User keys are managed by the following user roles: user, sub-admin, admin, and super-admin.

Log In

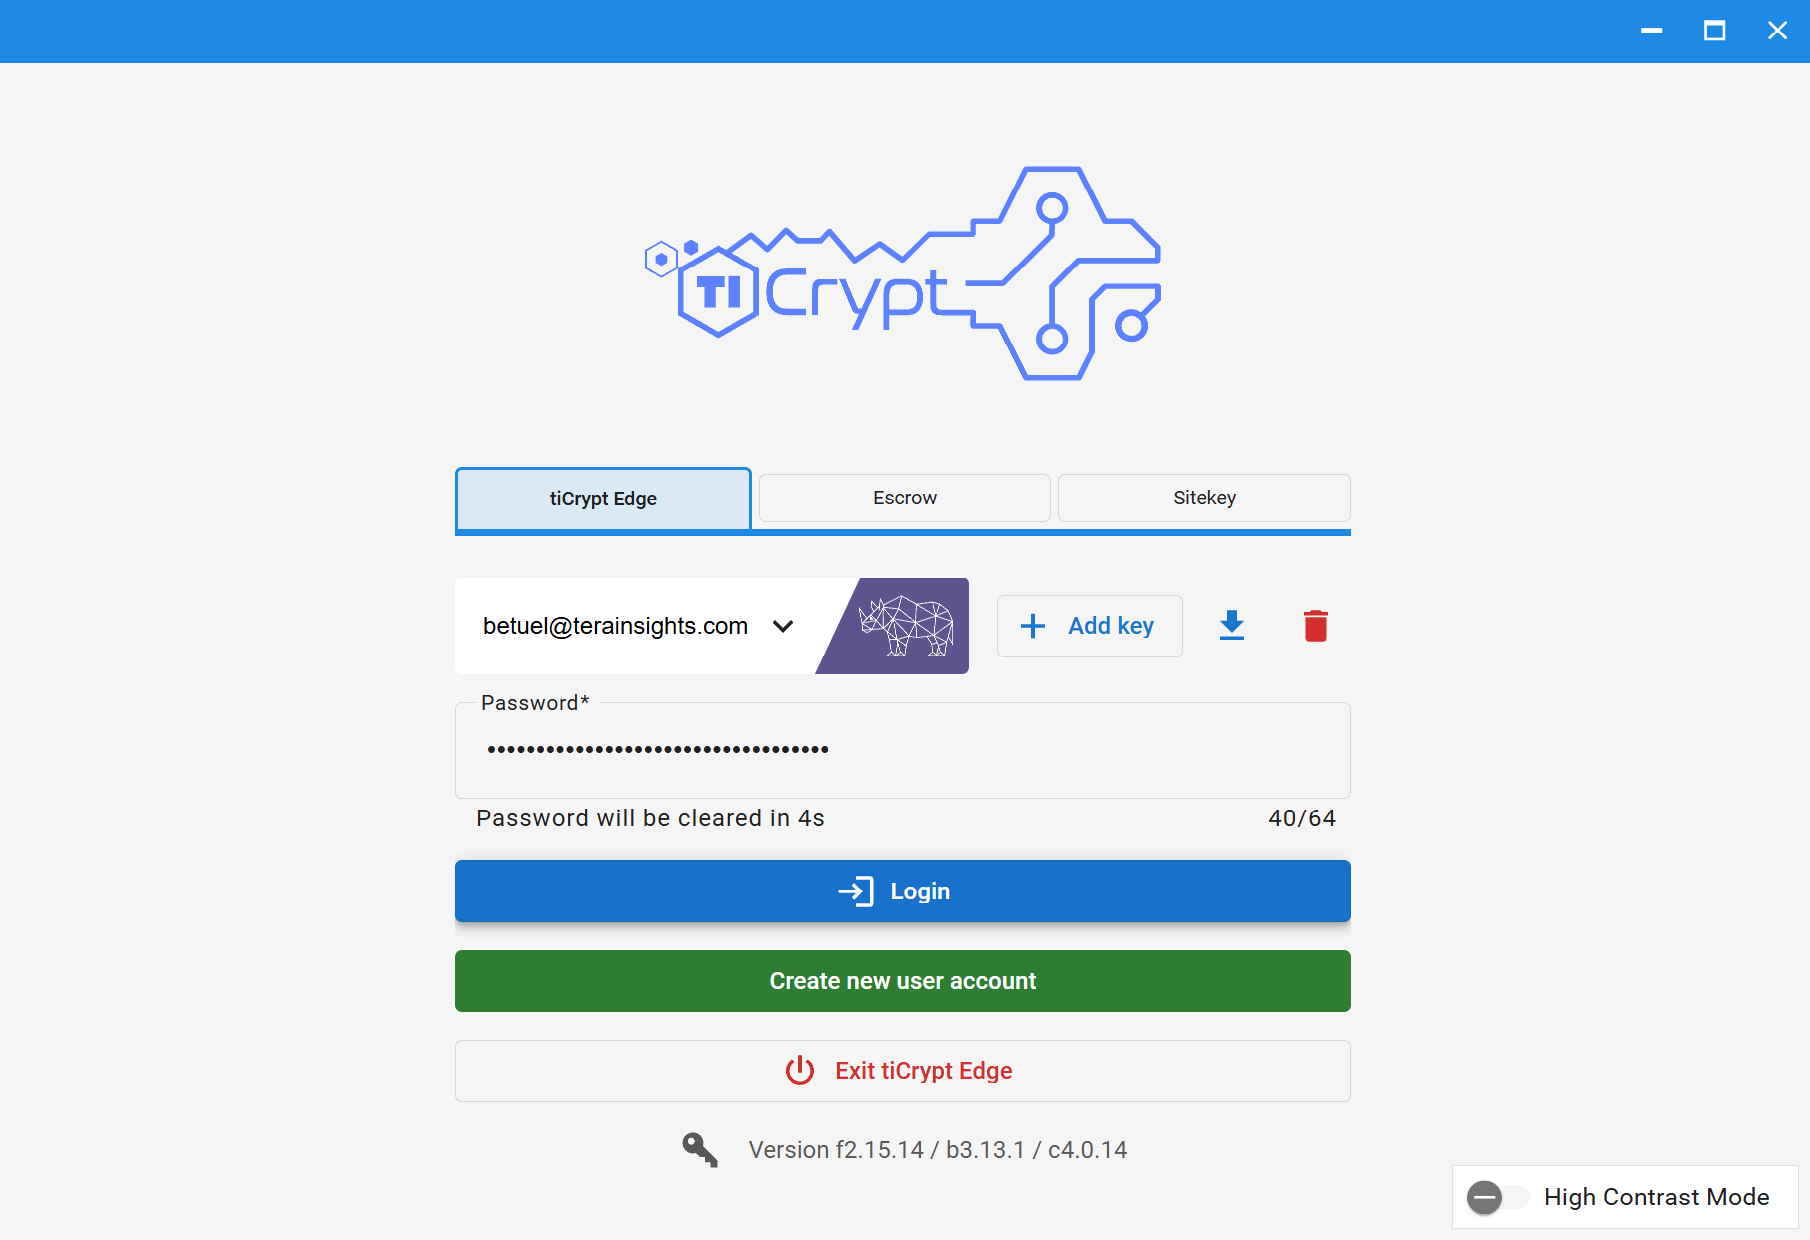
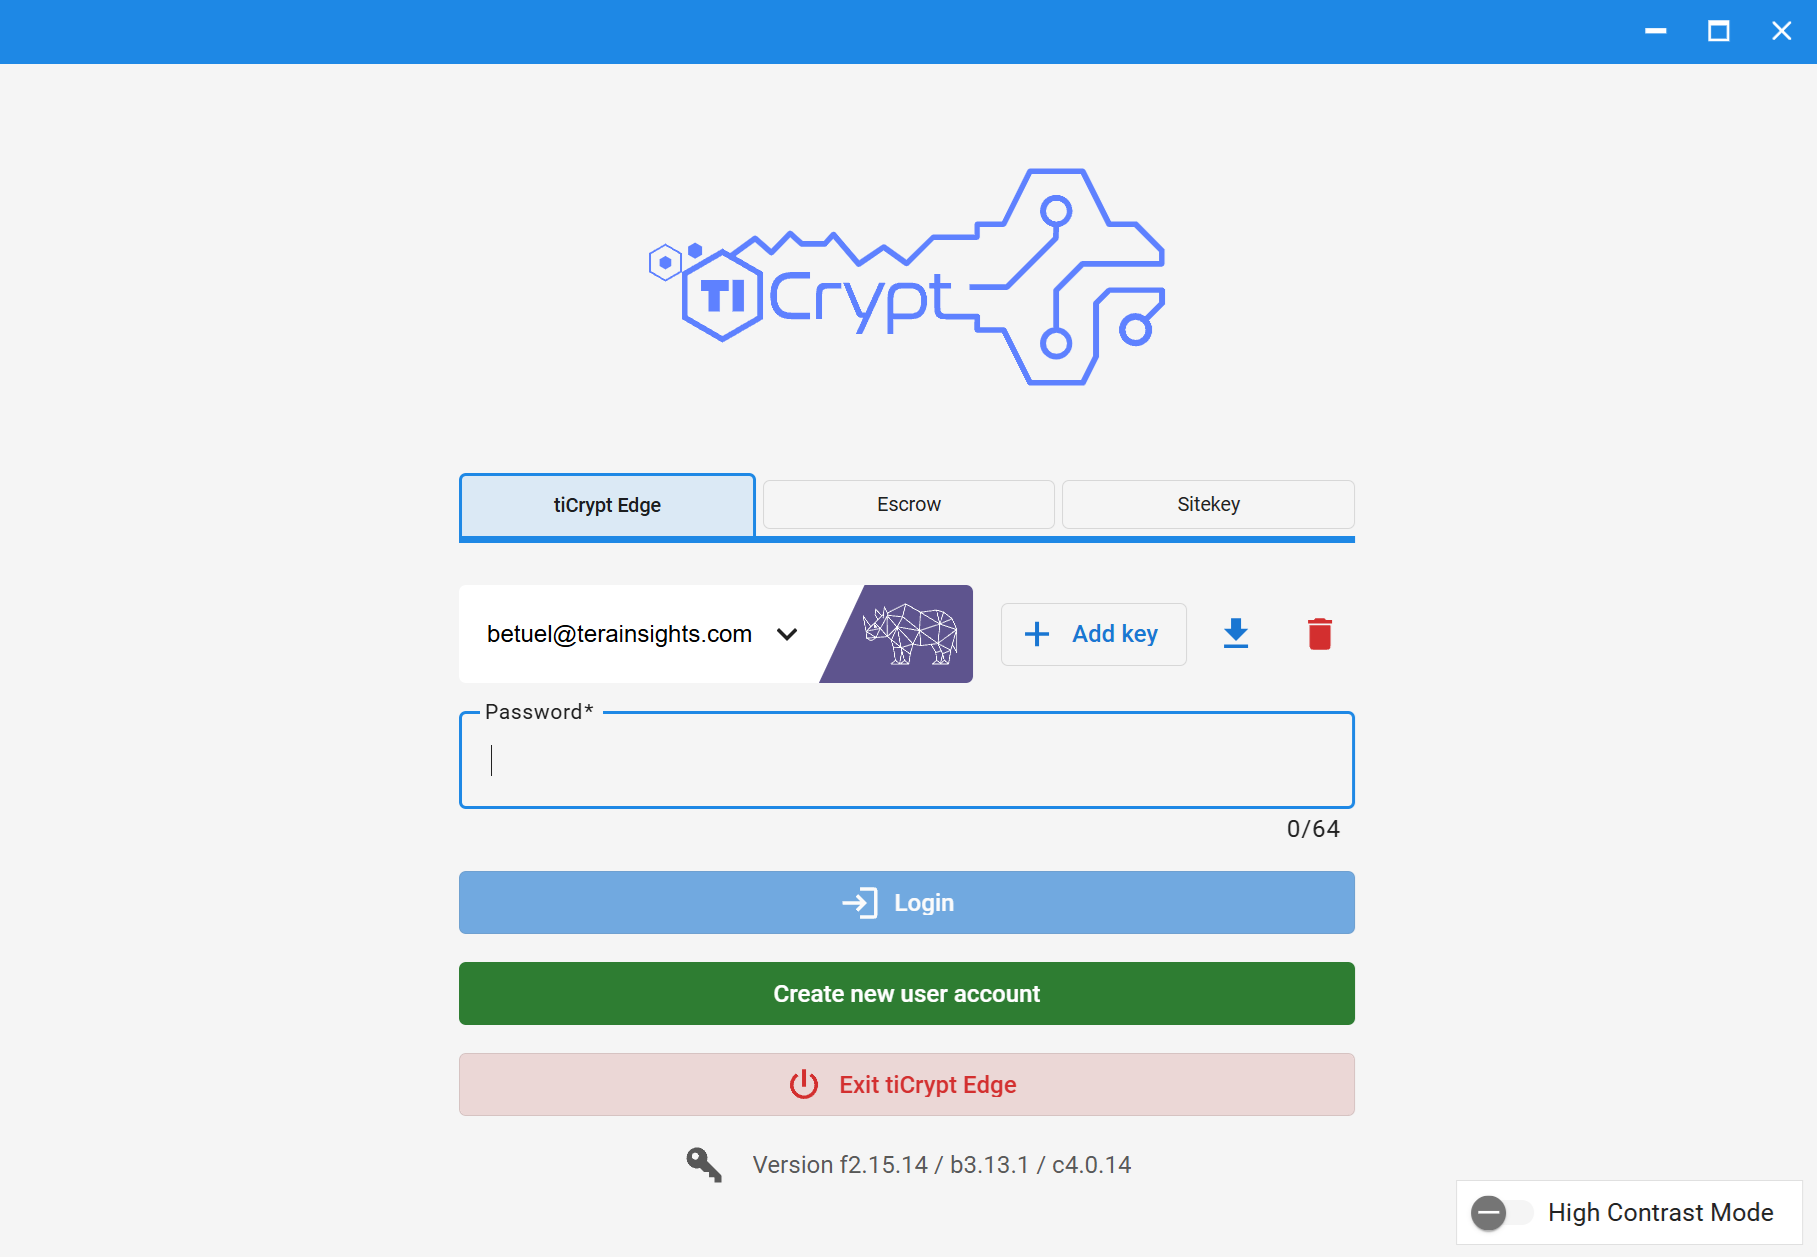
tiCrypt login page showing user selection dropdown and password entry

  1. Open the Connect Application.
  2. Select your deployment card.
  3. Click the Dropdown button next to the user name and icon in the center.
  4. Select your user name from the list.
  5. Enter your private key password.
  6. Click the Login button.
Confirmations, Errors & Solutions
tiCrypt Running Confirmation

App launched successfully.

Key Loaded Successfully

Key imported.

Key Wiped Confirmation

Key wiped from cache.

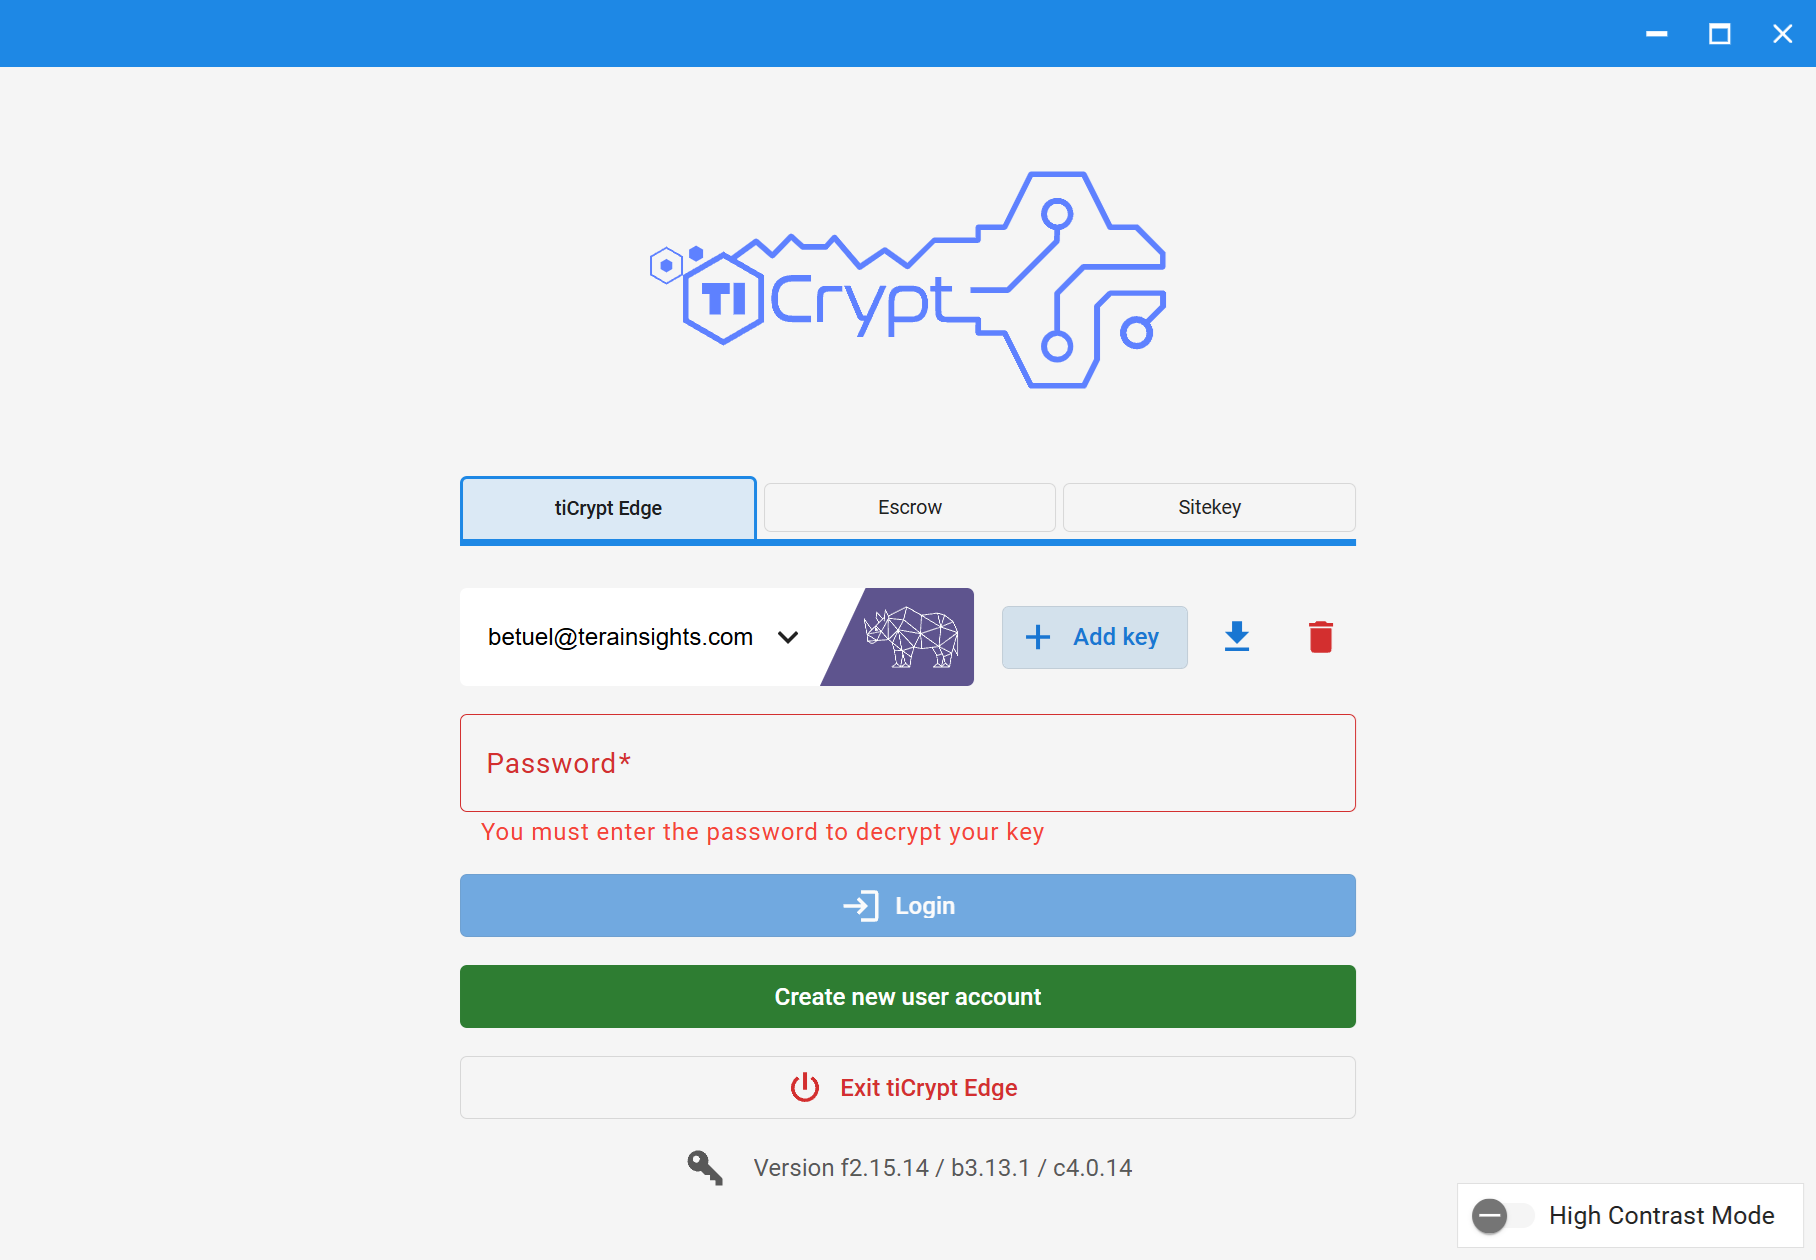
Missing Password

You must enter your password to decrypt your key.

Enter Your Password

Enter your private key password in the password field before clicking Login.

Bulk Key Import Misuse

Cannot upload more than 1 file.

Upload One Key

Upload one key at a time.

Login Failed User

Login failed: No user exists with email the-email-you-entered.

Ask your Admin

Ask your admin to create a new account with the same email. In rare scenarios: if you use multiple institution deployments, you might have used a private key file from a different deployment. Check that the private key file corresponds to the associated deployment.

Login Failed Password

Login failed: The password for the private key is incorrect or is the wrong key file.

Re-Enter the Correct Password or Private Key File

You must re-enter your password and check that you have added the correct private key file locally.

Login Failed Timeline

Login failed: Too long since last login.

Ask Your Admin to Re-activate Your Account

If you have not logged in for a long time or your account has expired, your admin must re-activate your account.

Bad MFA

Bad MFA certificate: certificate is for different user.

Re-Login with Correct User ID

You entered a different credential in the MFA prompt. You must log in again with the same user ID.

Remaining Login Attempts

decreasing-number-from-8-to-0 login attempts remaining until account is locked. The next time you can log in is month-day-year, hour-minute-second AM/PM (date and time of next possible re-login).

Re-enter Your Password Later

You entered an incorrect password multiple times. You have 14 total attempts, and you receive a notification for 8 of them. You must wait until the required time and date to log in again. Your admin cannot help you in this situation.

Declined Terms & Conditions Upon Login

You clicked Decline in the T&Cs prompt.

Re-login and Accept Terms & Conditions

Go back to the login page and log in again as usual. Once logged in, click Accept in the T&Cs prompt.

Add Additional Private Keys

tiCrypt login page showing the Add Key button for importing additional private keys

  1. Open the Connect Application.
  2. Select your deployment card.
  3. Click the Add key button in the center right.
  4. Find and select the additional private key file user-name(mm-dd-yy).key.
  5. Click Open.

Switch Between Private Keys
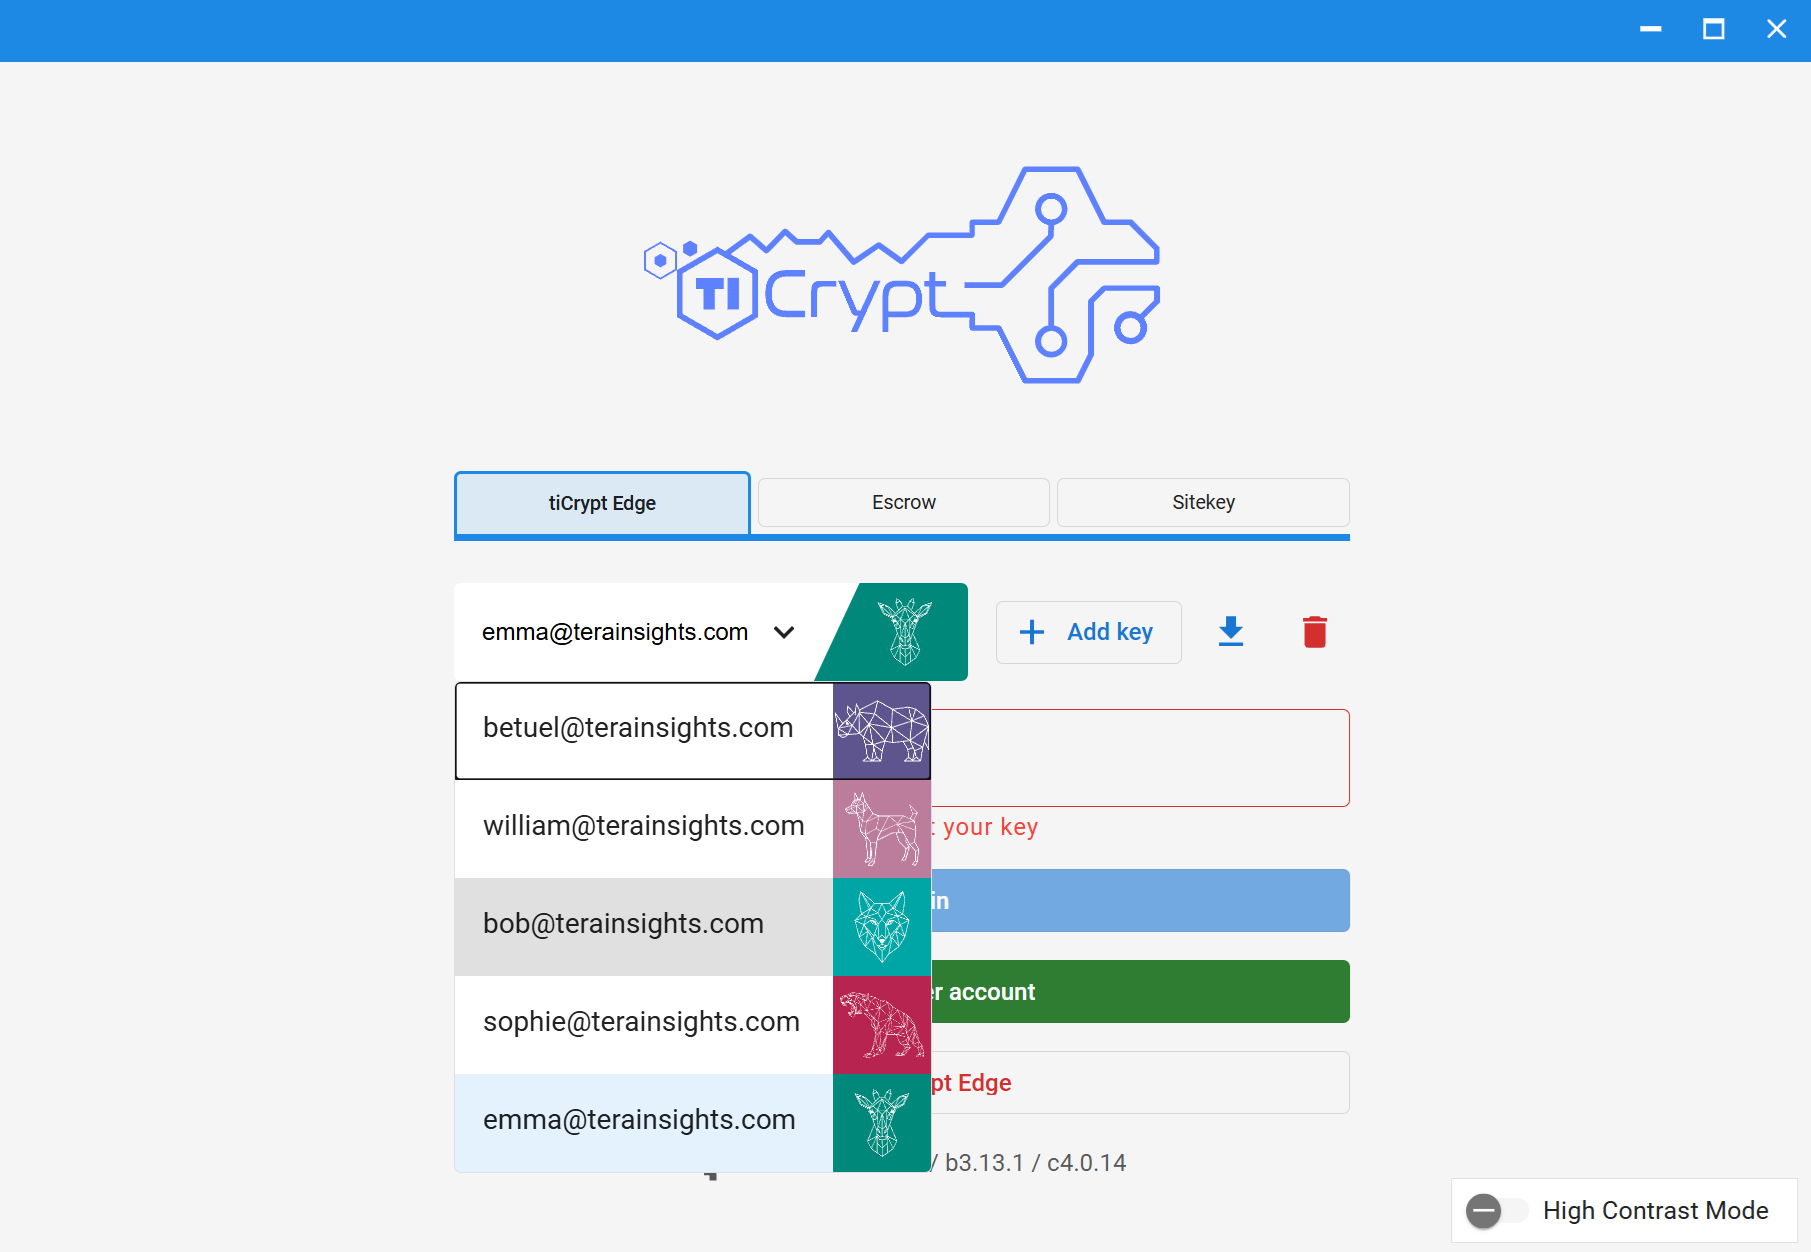
tiCrypt login page showing the user dropdown for switching between private keys

  1. Open the Connect Application.
  2. Select your deployment card.
  3. Click the Dropdown button next to the user name and icon in the center.
  4. Select a different user name from the list.
  5. Enter the corresponding private key password.
  6. Click the Login button.

Download Private Key Locally
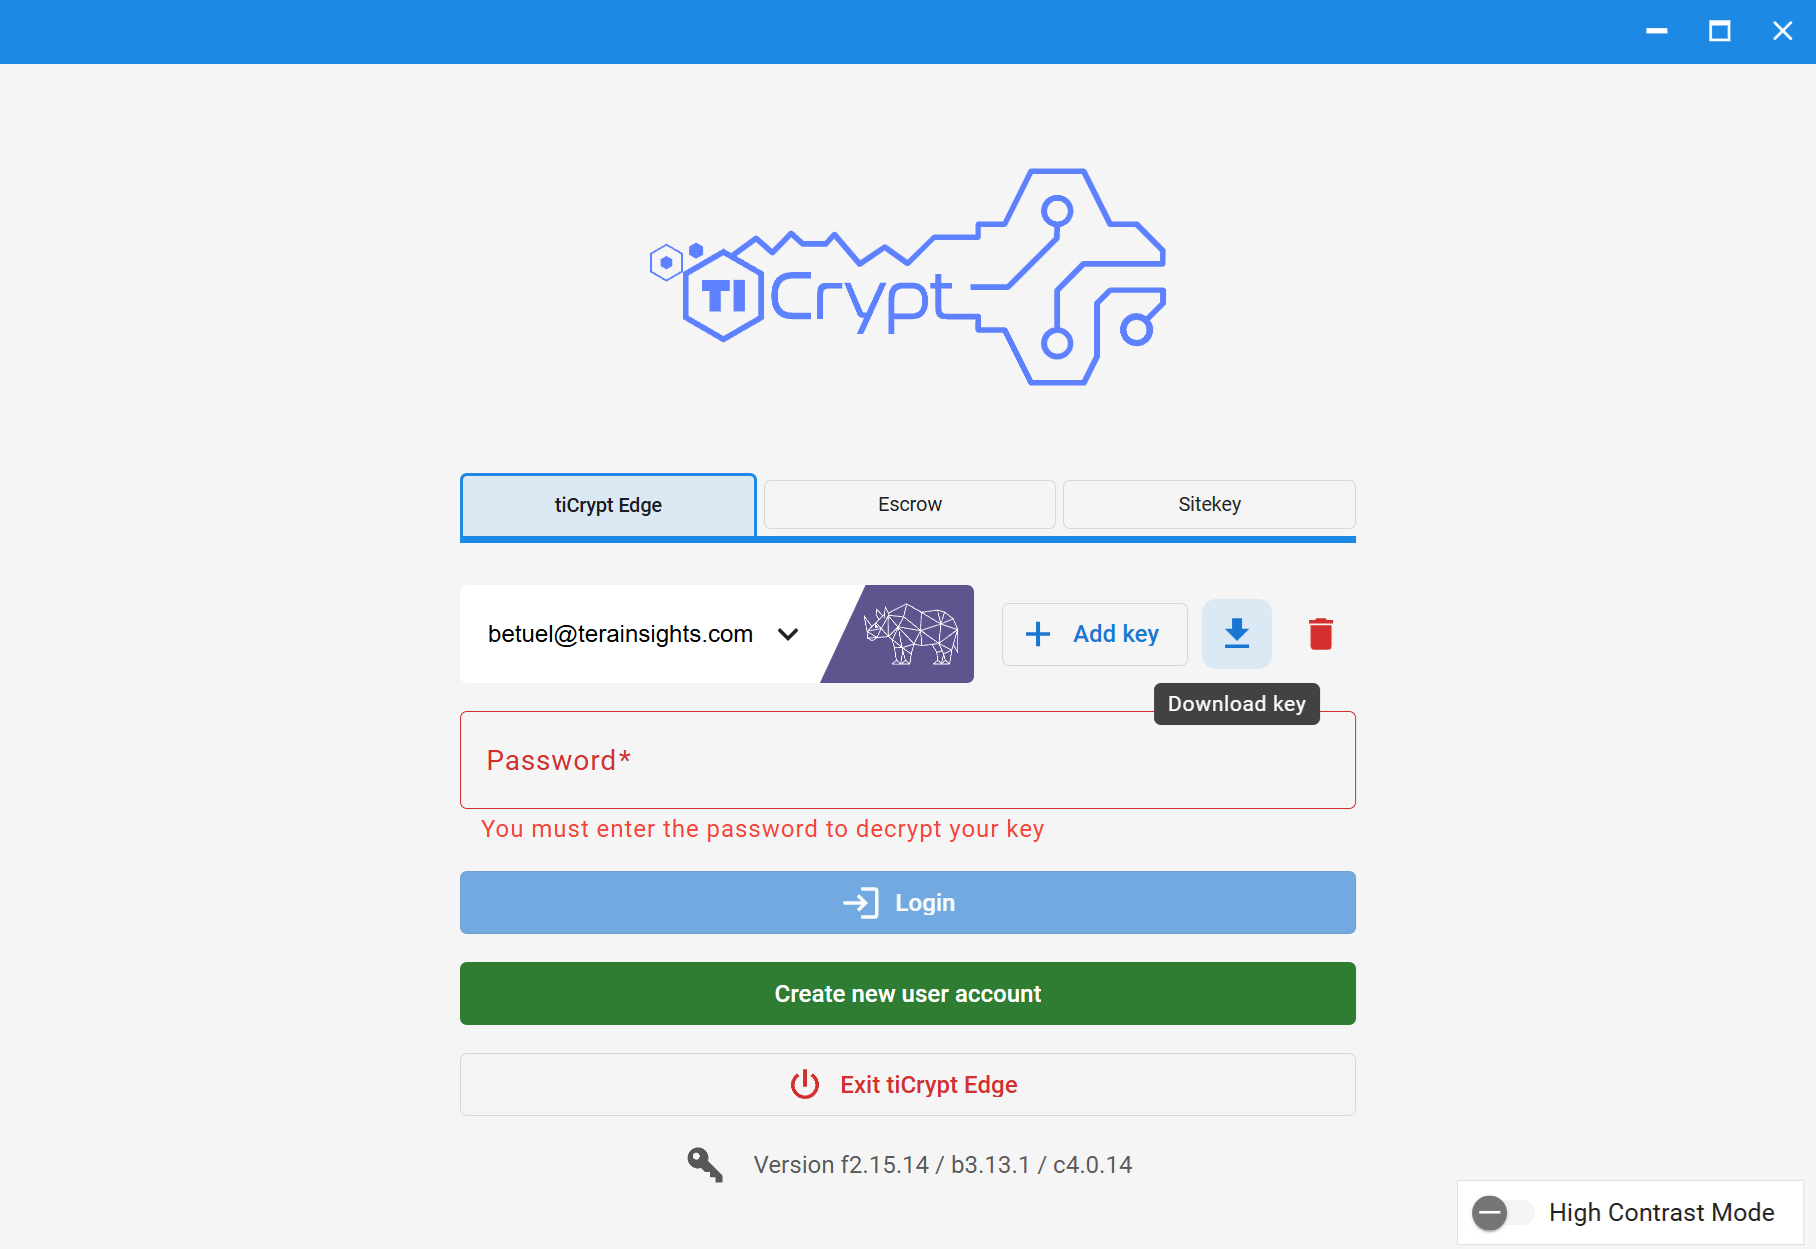
tiCrypt login page showing the Download button for saving a private key locally

  1. Open the Connect Application.
  2. Select your deployment card.
  3. Click the Download button in the center right.
  4. Select a folder to save the private key file user-name(mm-dd-yy).key.
  5. Click Save.

Delete Private Key from tiCrypt
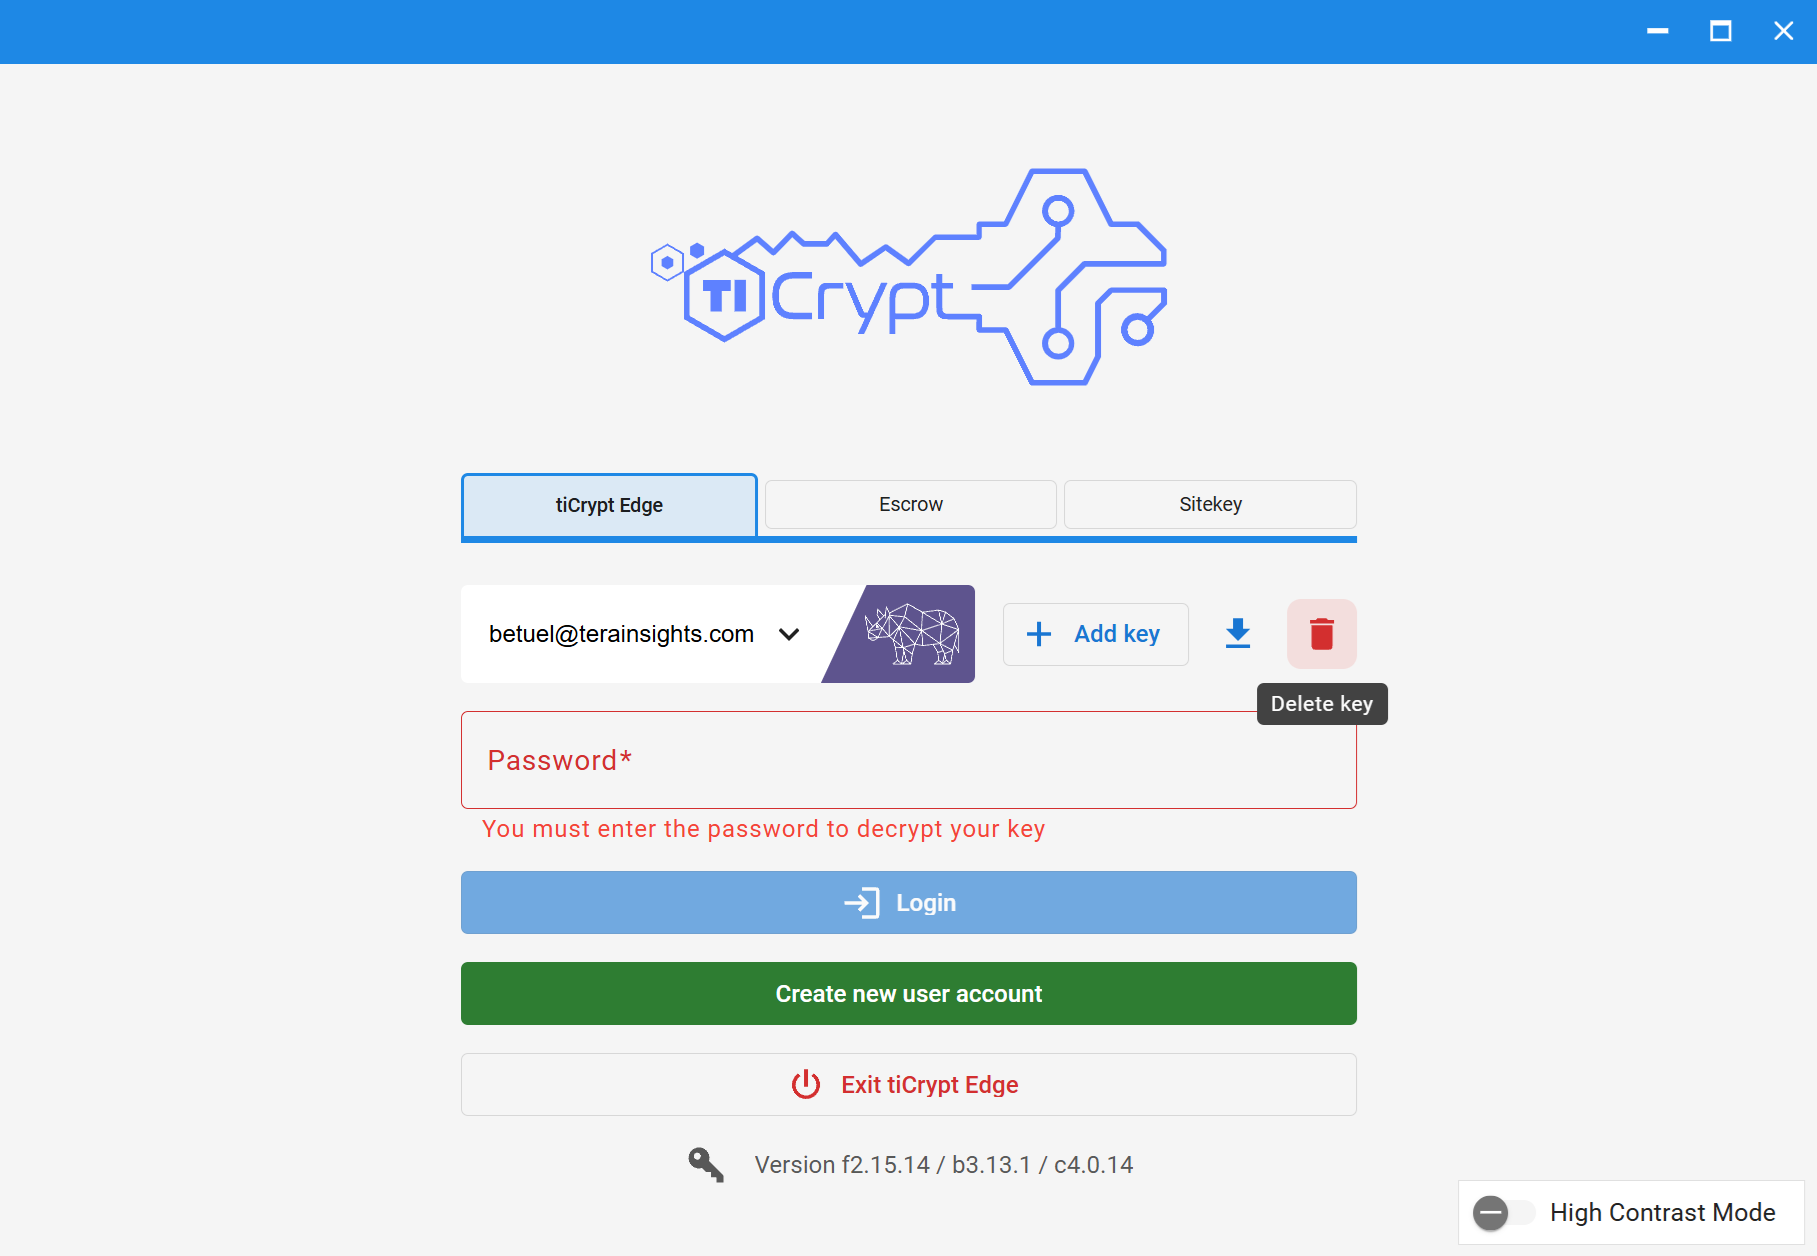
tiCrypt login page showing the Delete button for removing a private key

  1. Open the Connect Application.
  2. Select your deployment card.
  3. Click the Delete button in the center right.

Change User Private Key Icon

You cannot change your private key icon in tiCrypt. The icon is generated and assigned randomly to each user. To generate a distinct private key icon, create a new tiCrypt account.

Switch Between Deployments

tiCrypt login page showing the Exit button for switching between deployments

  1. Open the Connect Application.
  2. Select the first deployment card.
  3. Click the Exit tiCrypt Edge button below.
  4. Select the second deployment card.

View tiCrypt Versions from Login Page
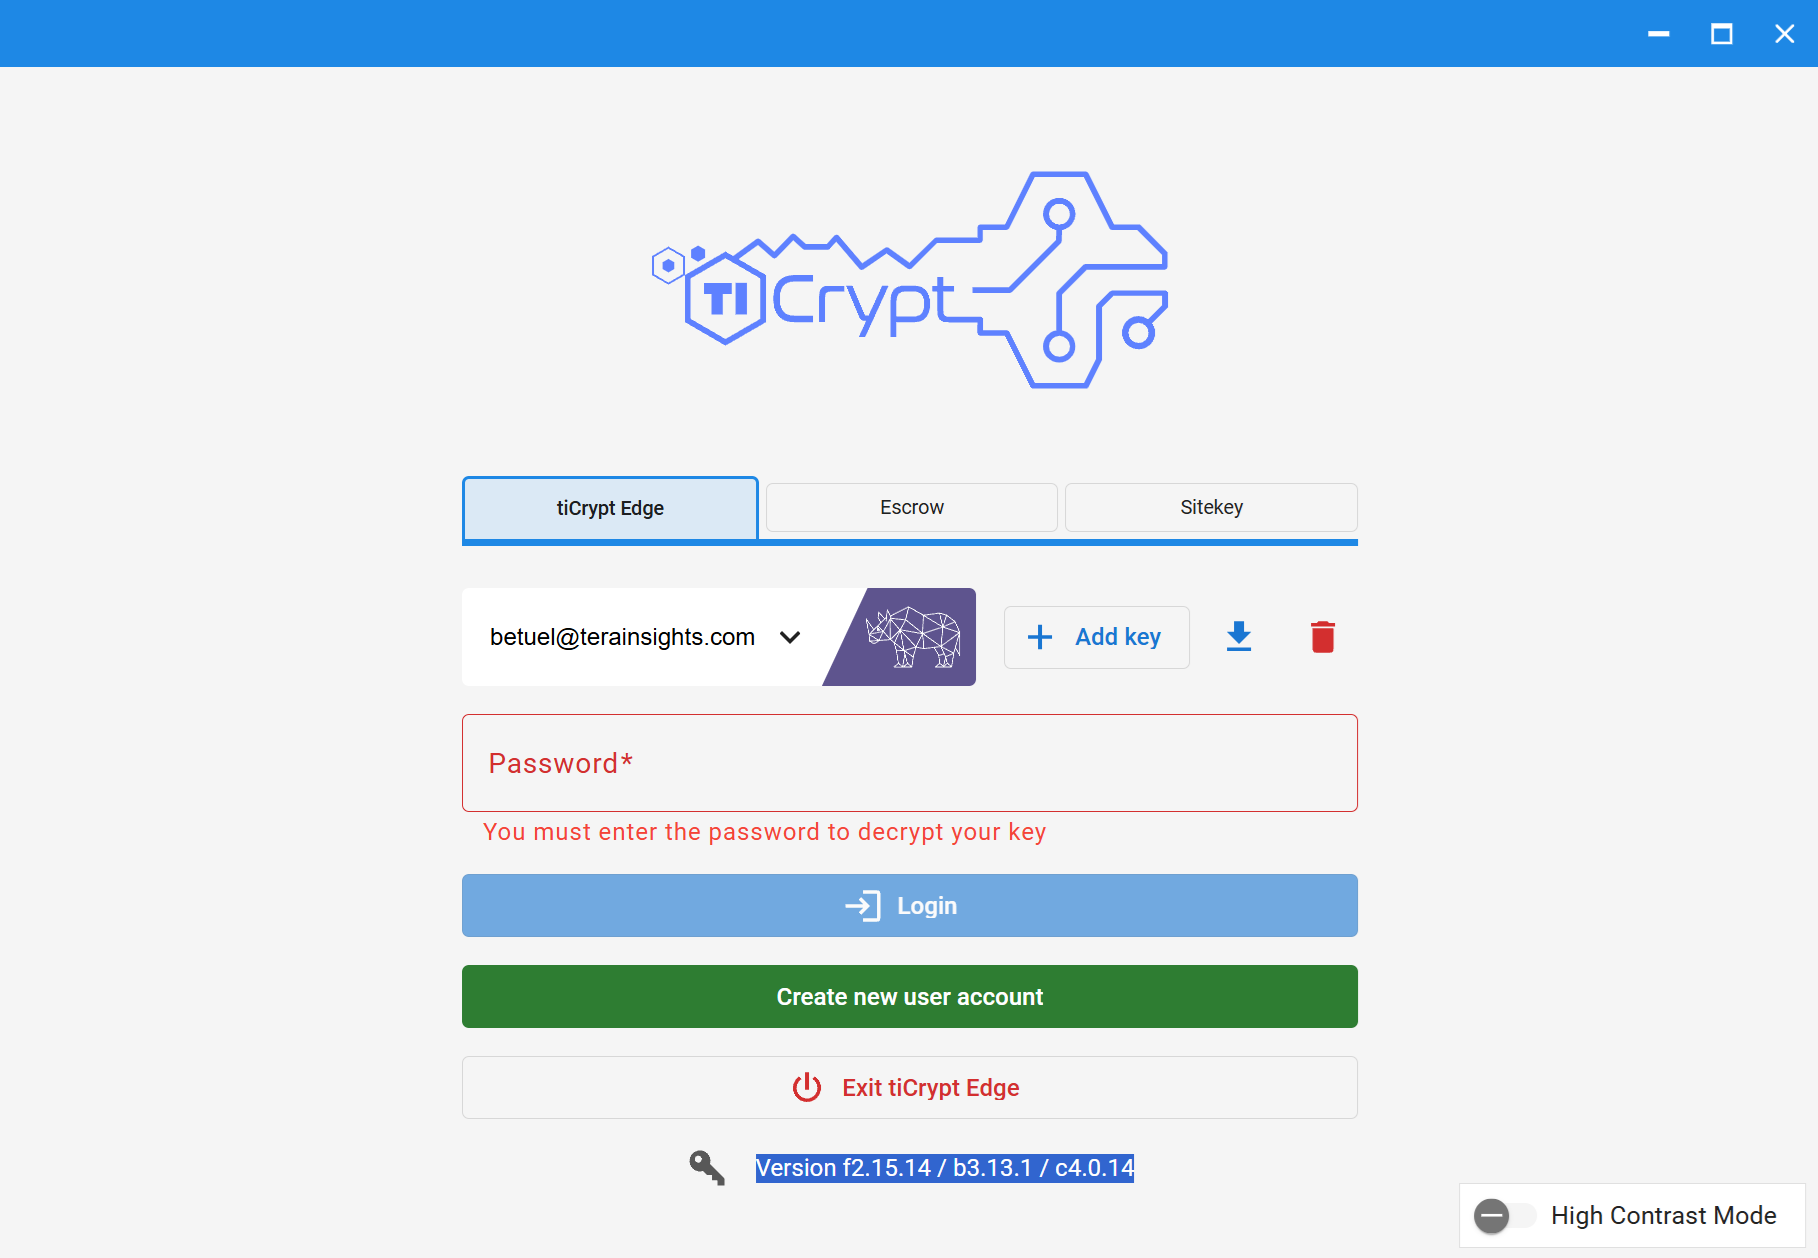
tiCrypt login page showing front-end, back-end, and Connect App version numbers

  1. Open the Connect Application.
  2. Select your deployment card.
  3. Next to the Key symbol, view:
    • Front-end f-your-front-end-version
    • Back-end b-your-back-end-version
    • Connect App c-your-connect-app-version

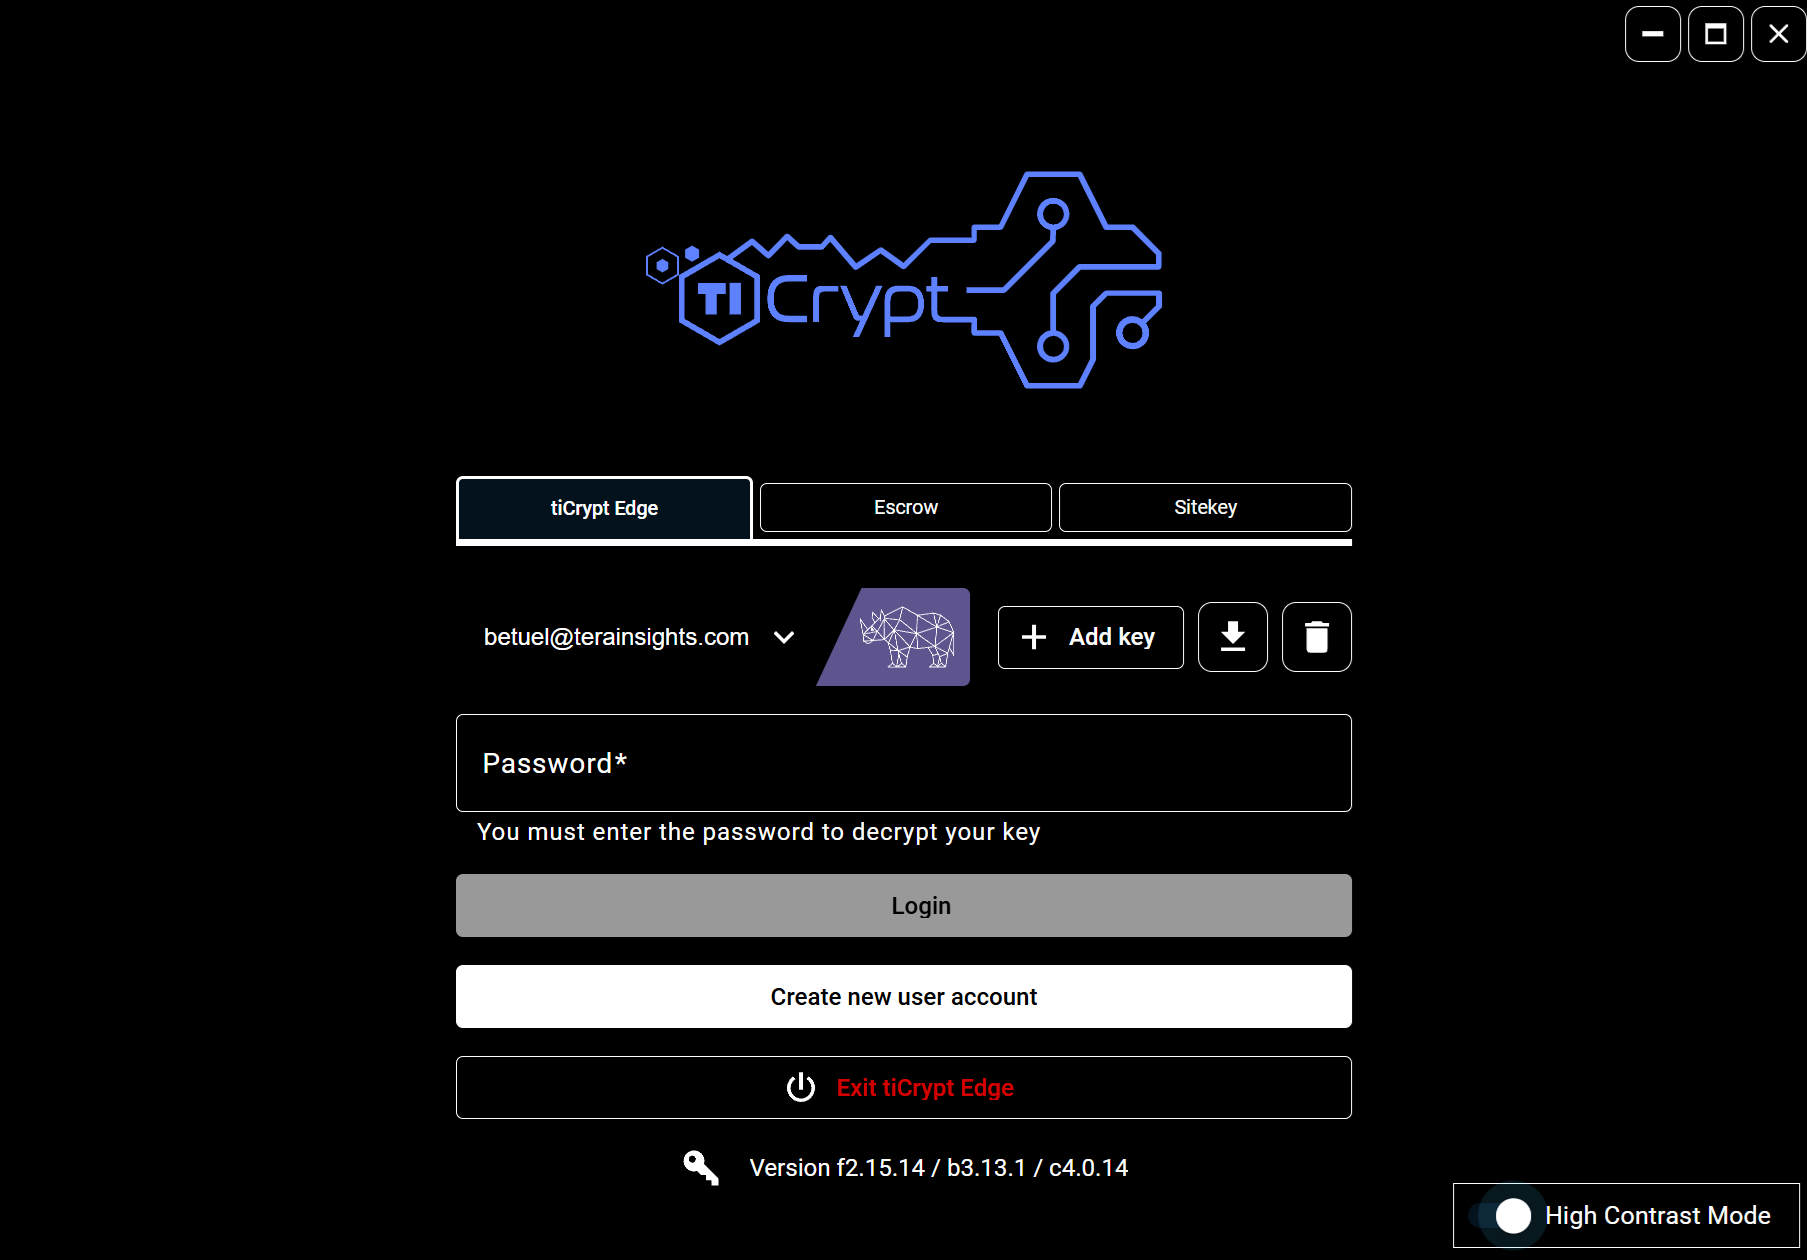
Switch to High Contrast Mode

tiCrypt login page showing the High Contrast Mode toggle button

  1. Open the Connect Application.
  2. Select your deployment card.
  3. Click the High Contrast Mode button in the bottom right.
tip

You can also enable High Contrast Mode from your User Settings after logging in.