Login
Load Private User Key into tiCrypt
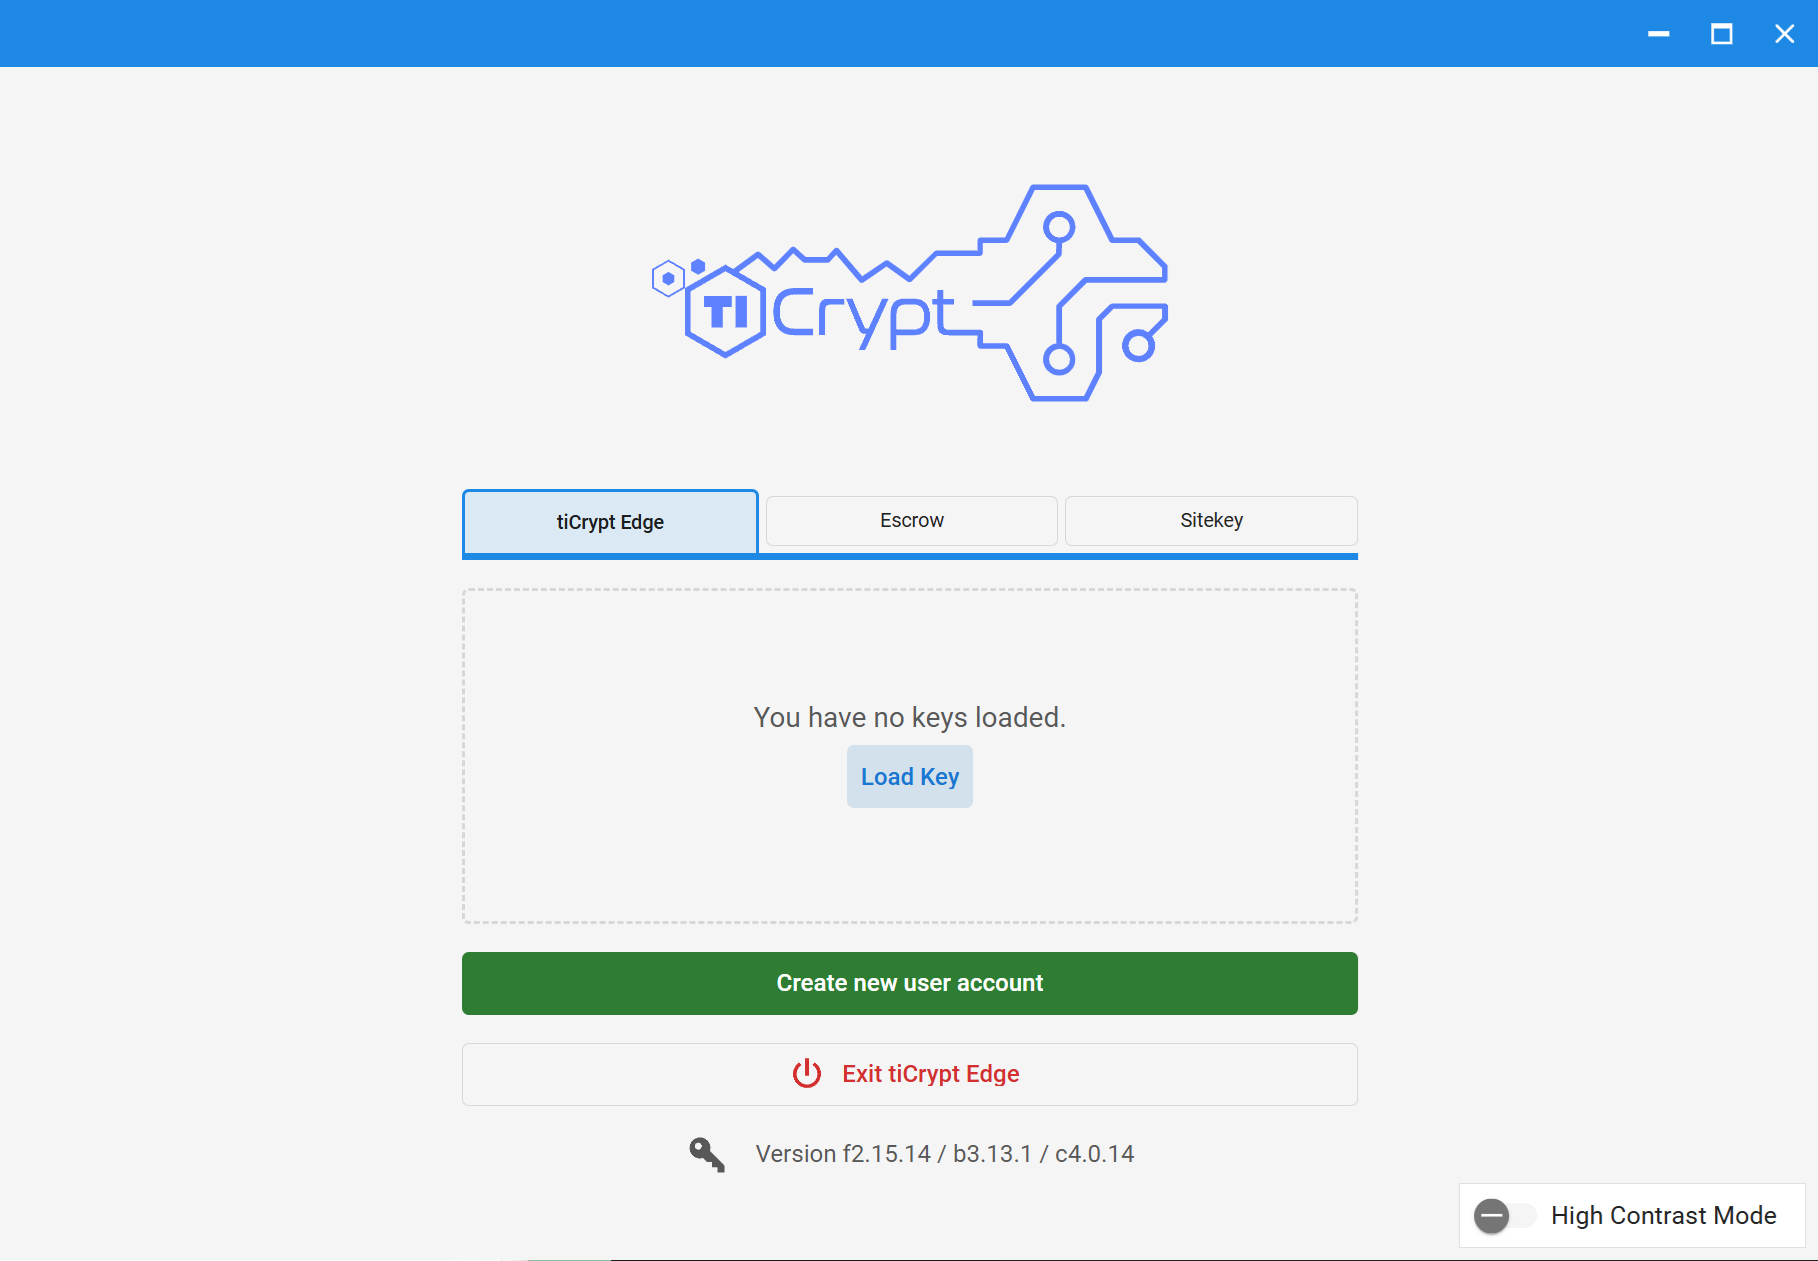
- Open the Connect Application provided by your institution or the Tera Insights team.
- Select the appropriate deployment card.
- In the login page, click the Load Key button in the center.
- In the local prompt, find and select your private key file
your-user-name(mm-dd-yy).key. - Click Open.
note
The users keys are may be managed by the following user roles user, sub-admin, admin and super-admin.
Load Private Escrow Key into tiCrypt
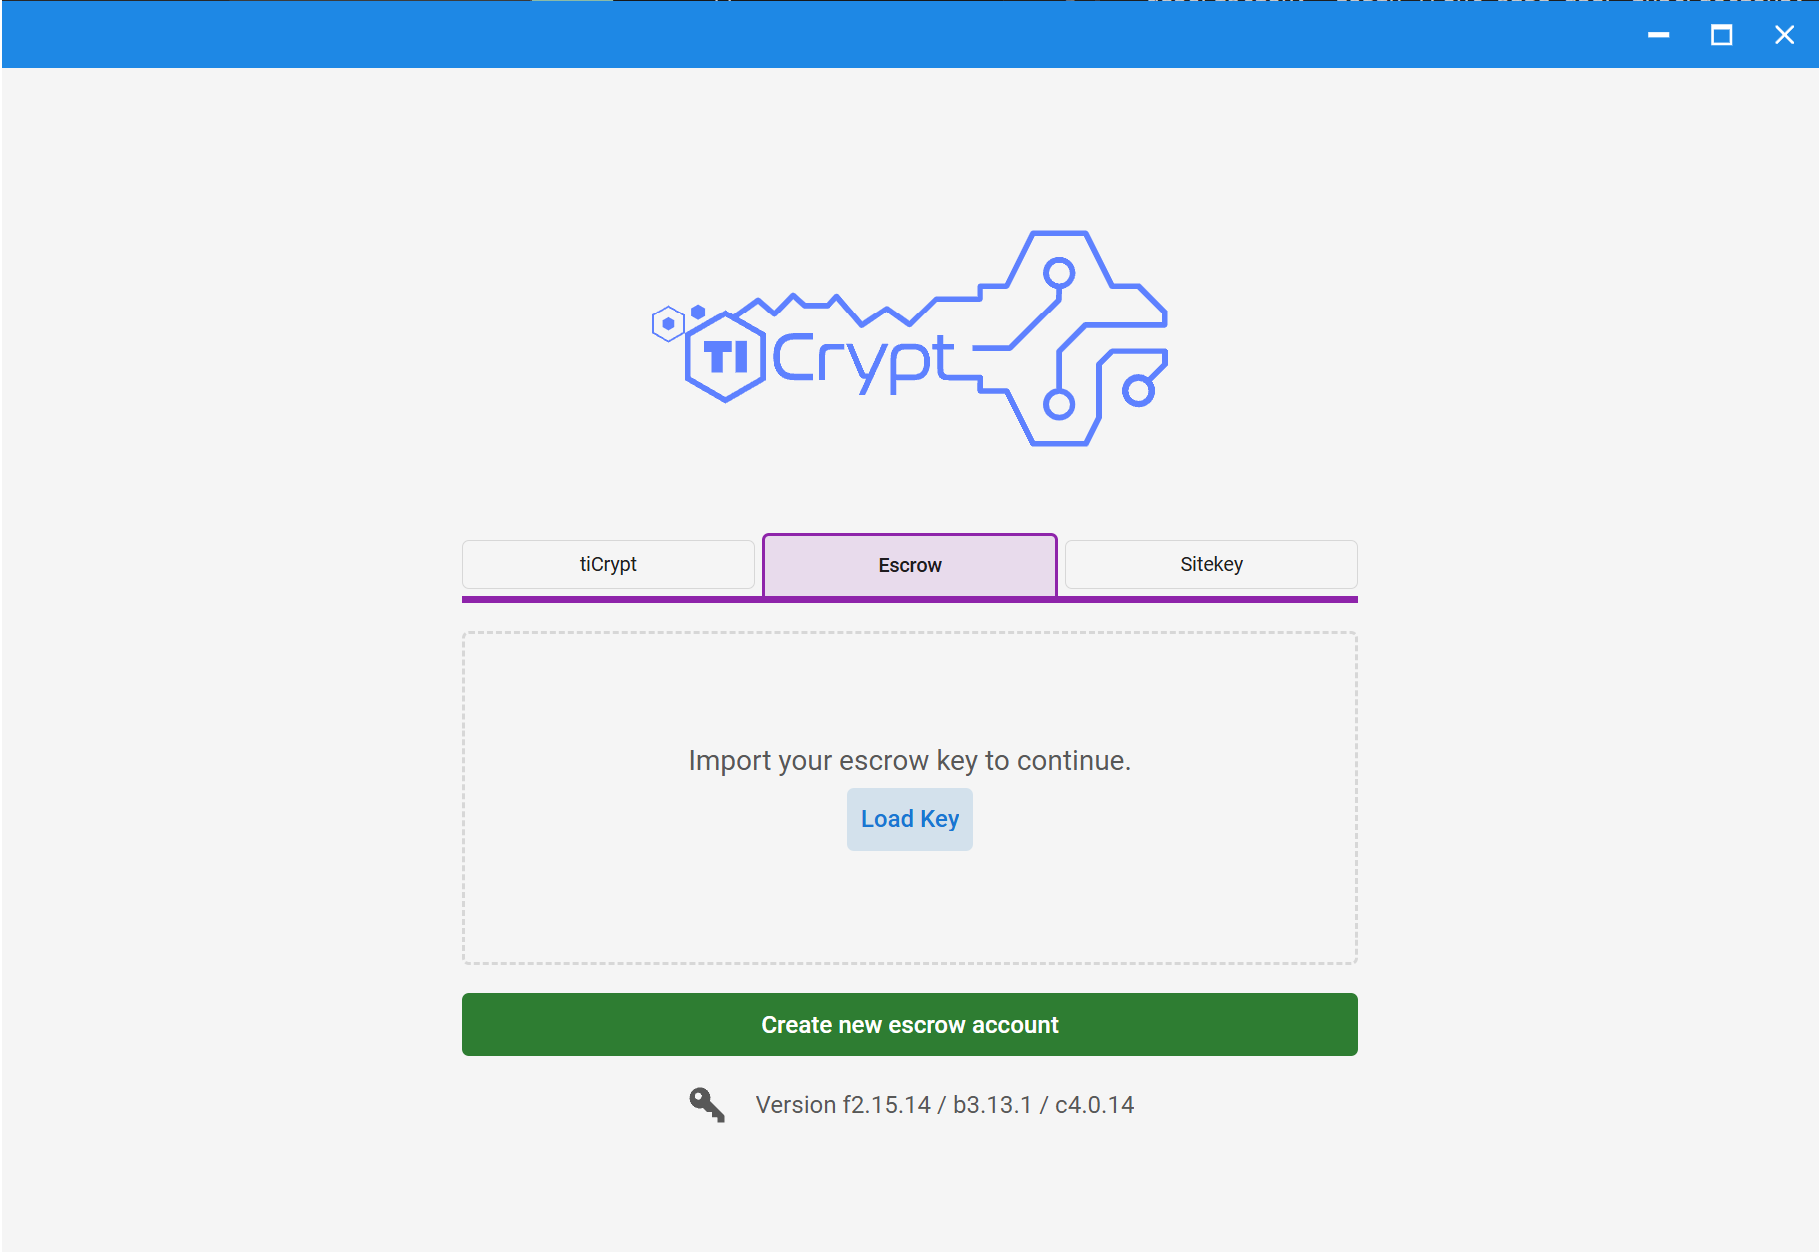
- Open the Connect Application provided by your institution or the Tera Insights team.
- Select the appropriate deployment card.
- In the login page, select the Escrow category.
- Click the Load Key button in the center.
- In the local prompt, find and select your escrow private key file
your-user-name(escrow).key. - Click Open.
note
The escrow keys are exclusively managed by escrow users who belong to escrow groups.
Load Site Key into tiCrypt
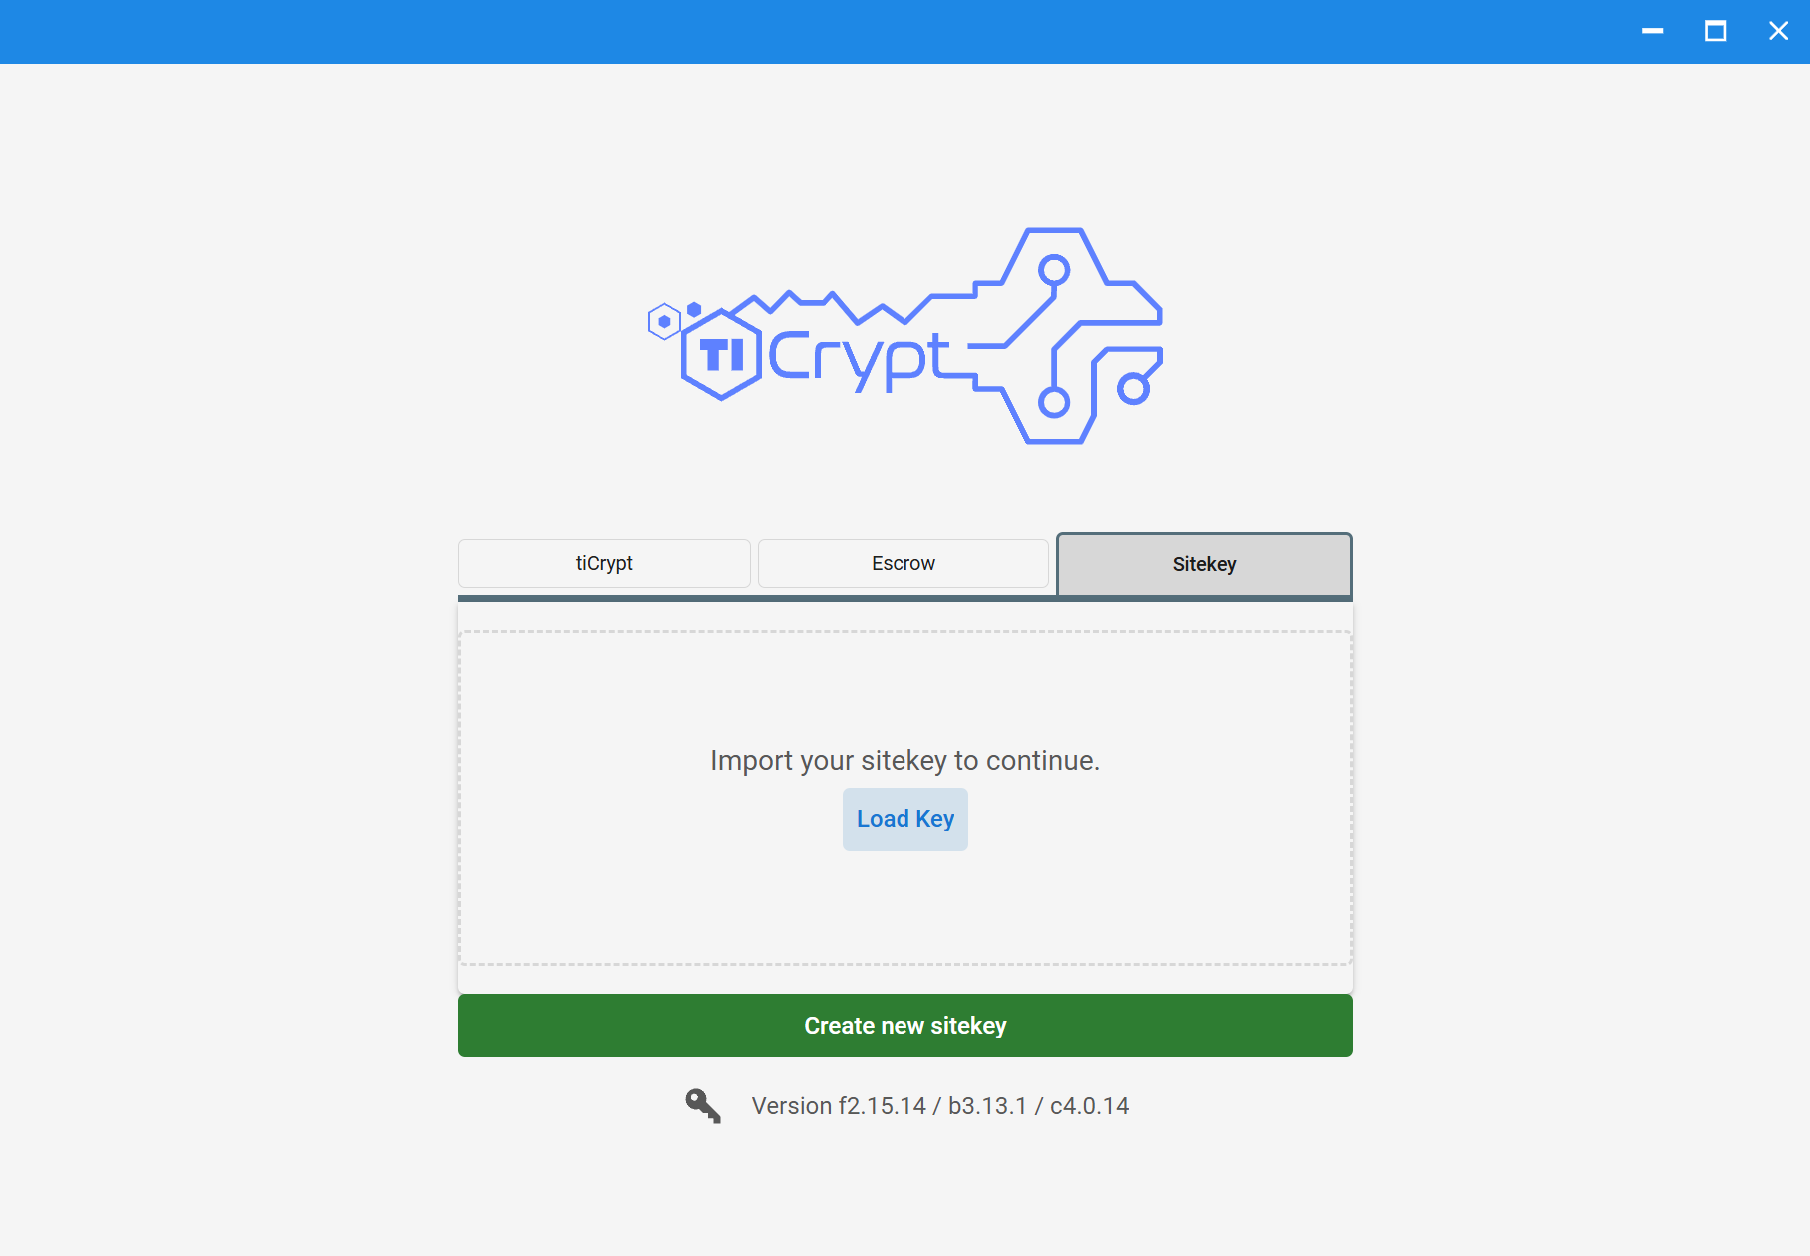
- Open the Connect Application provided by your institution or the Tera Insights team.
- Select the appropriate deployment card.
- In the login page, select the Site-key category.
- Click the Load Key button in the center.
- In the local prompt, find and select your site key file
sitekey.prv. - Click Open.
note
The site key is exclusively managed by the Site Key Admin.
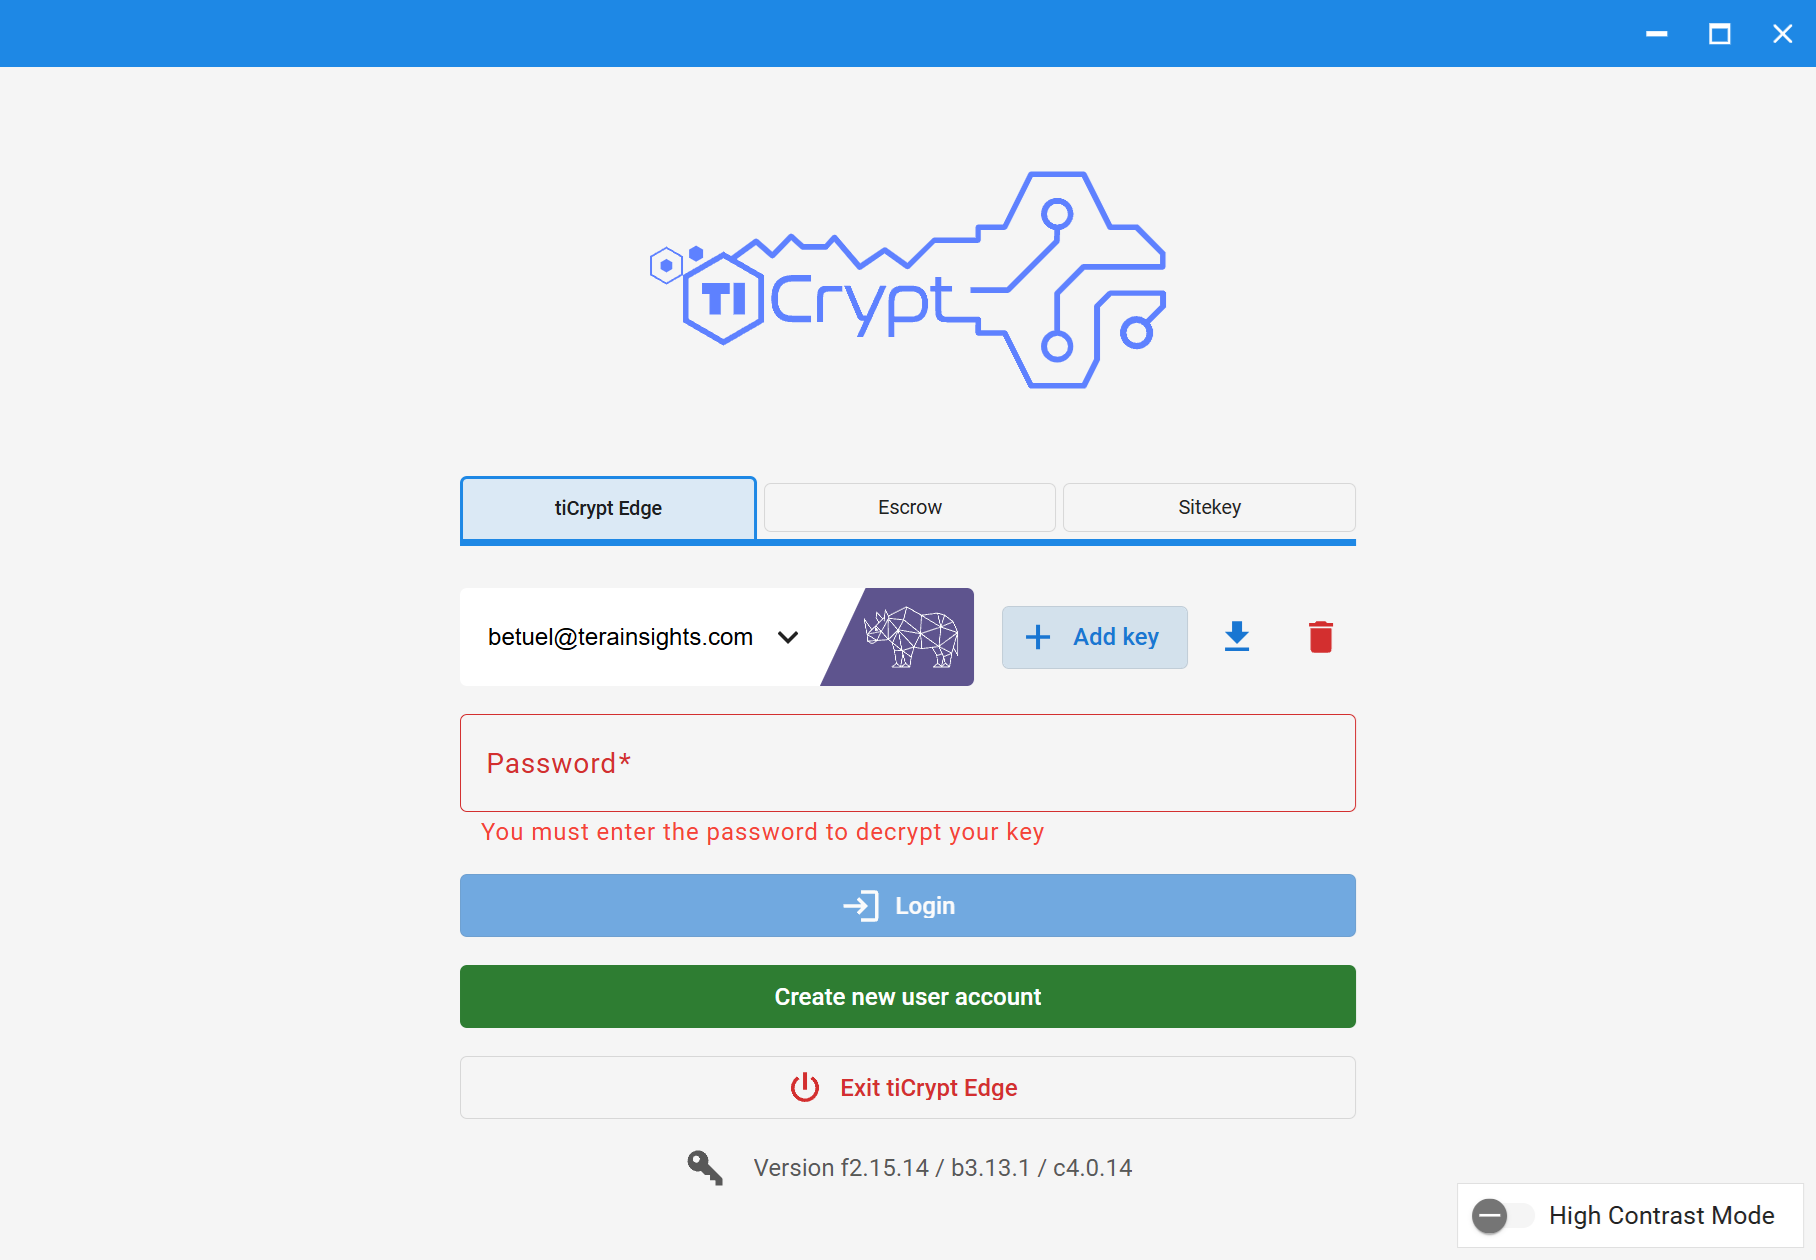
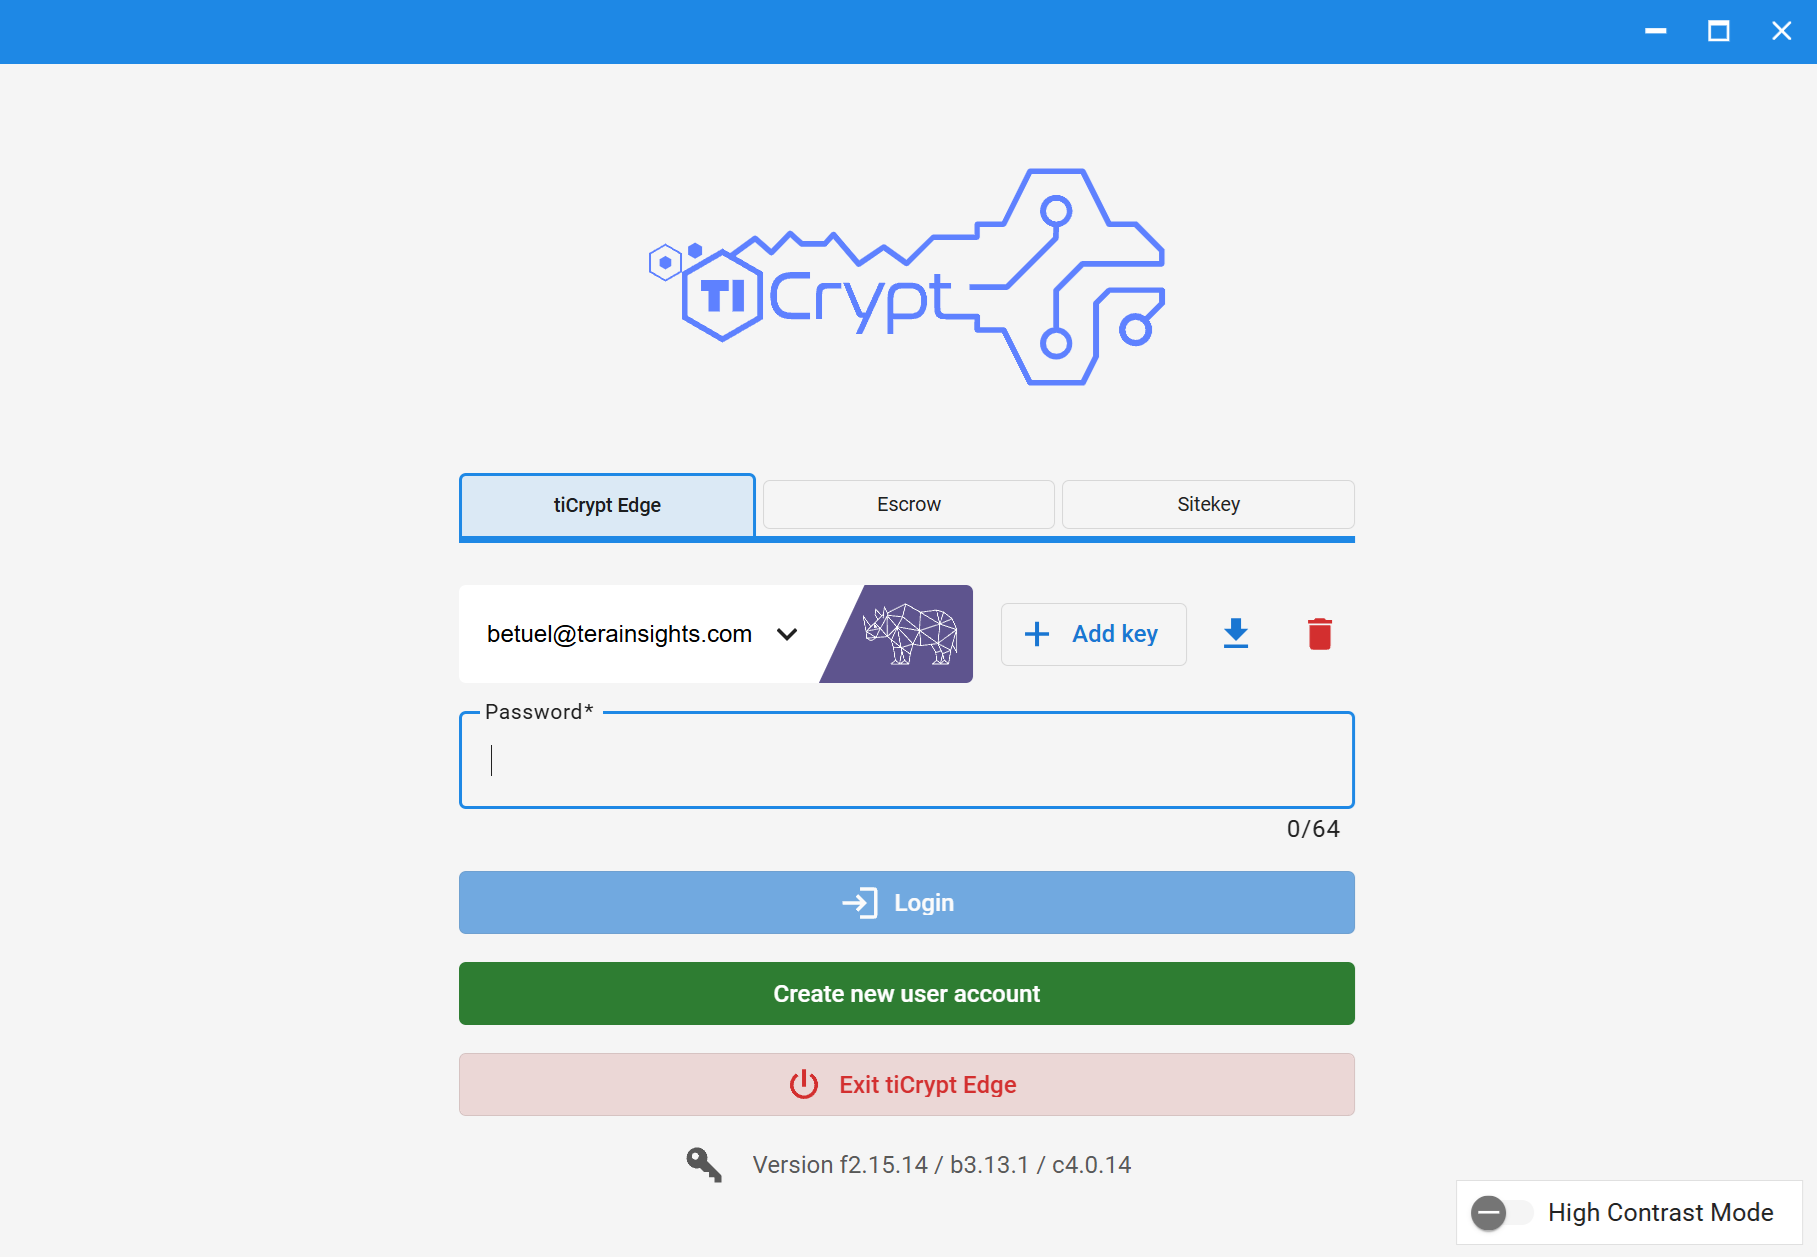
Login into tiCrypt
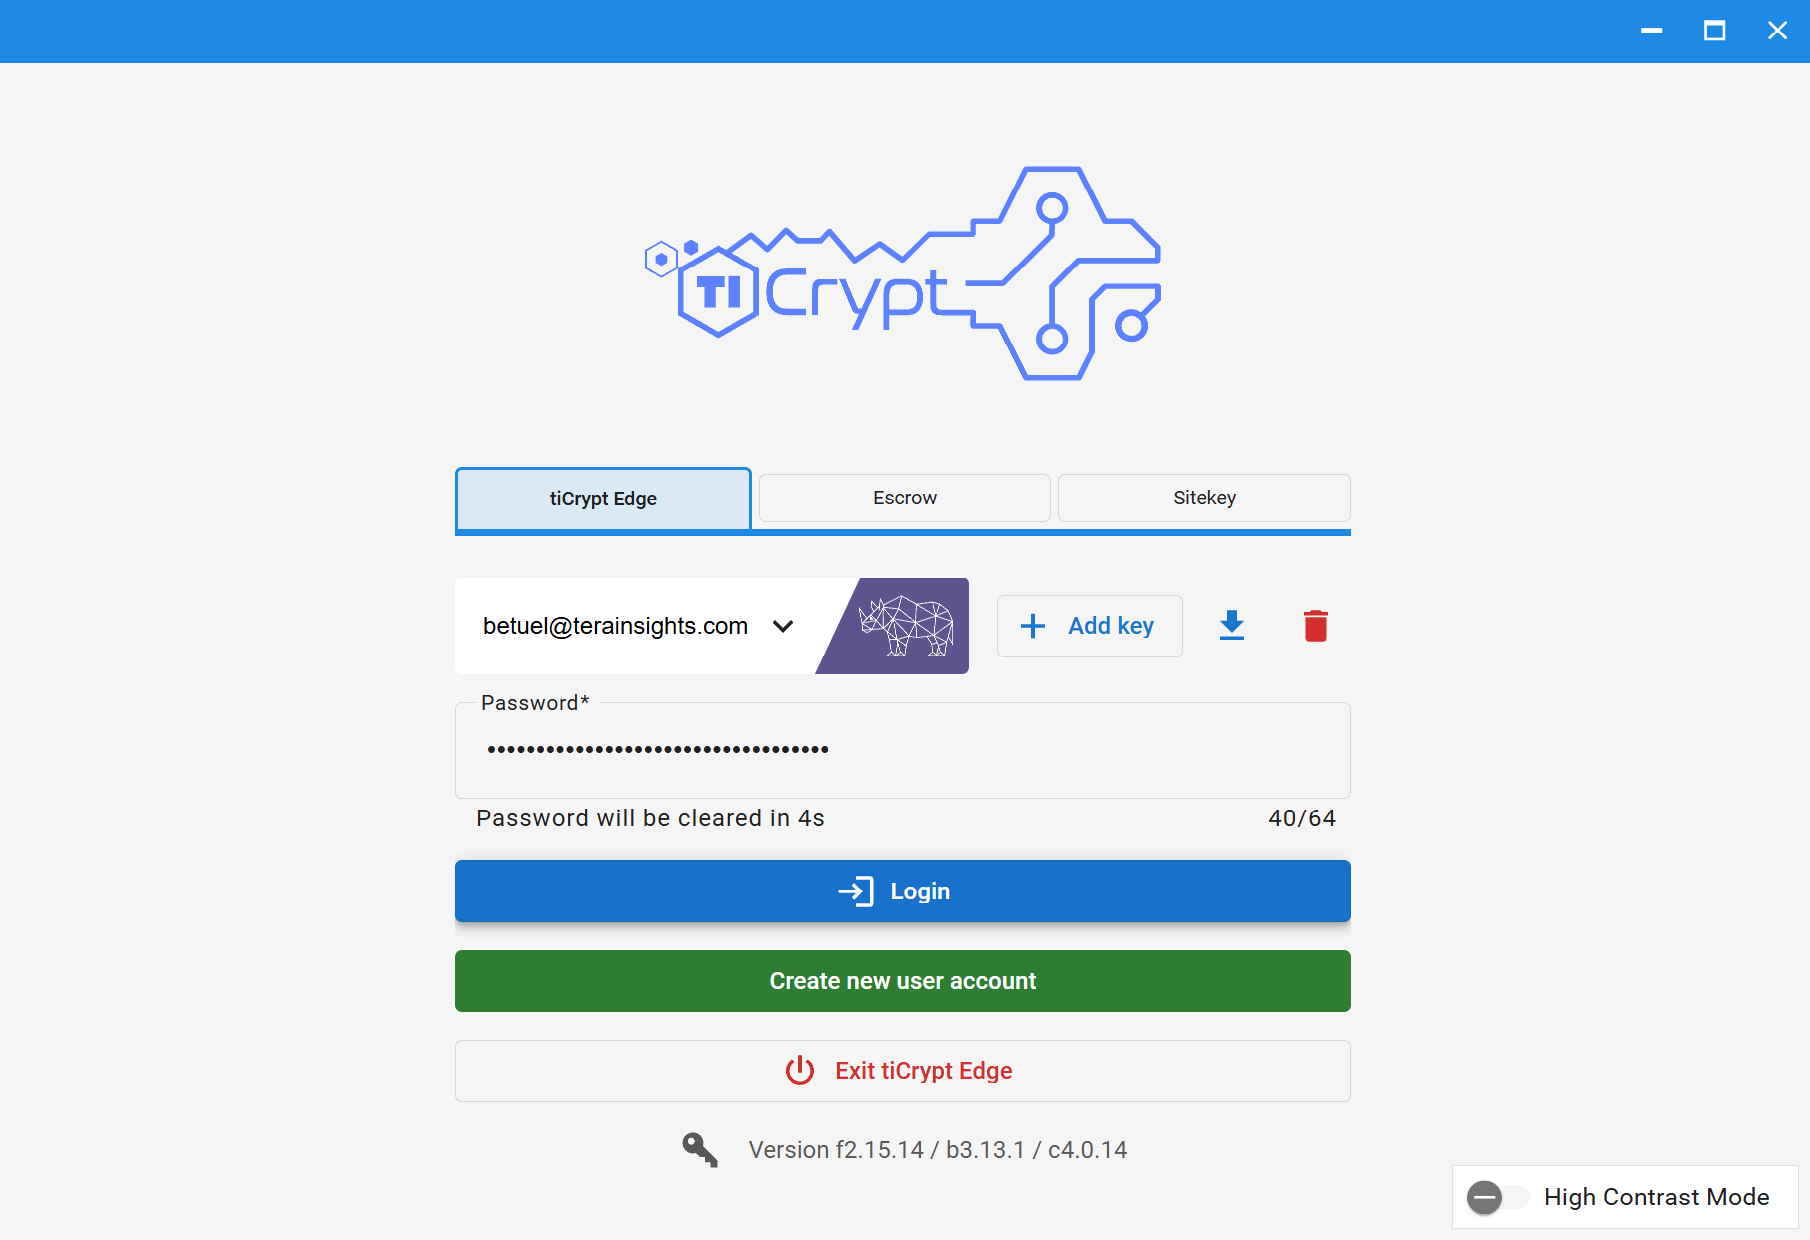
- Open the Connect Application provided by your institution or the Tera Insights team.
- Select the appropriate deployment card.
- In the login page, click the Dropdown button next the the user name and user icon in the center.
- Select your user name from the list.
- Enter your private key password.
- Click the Login button below.
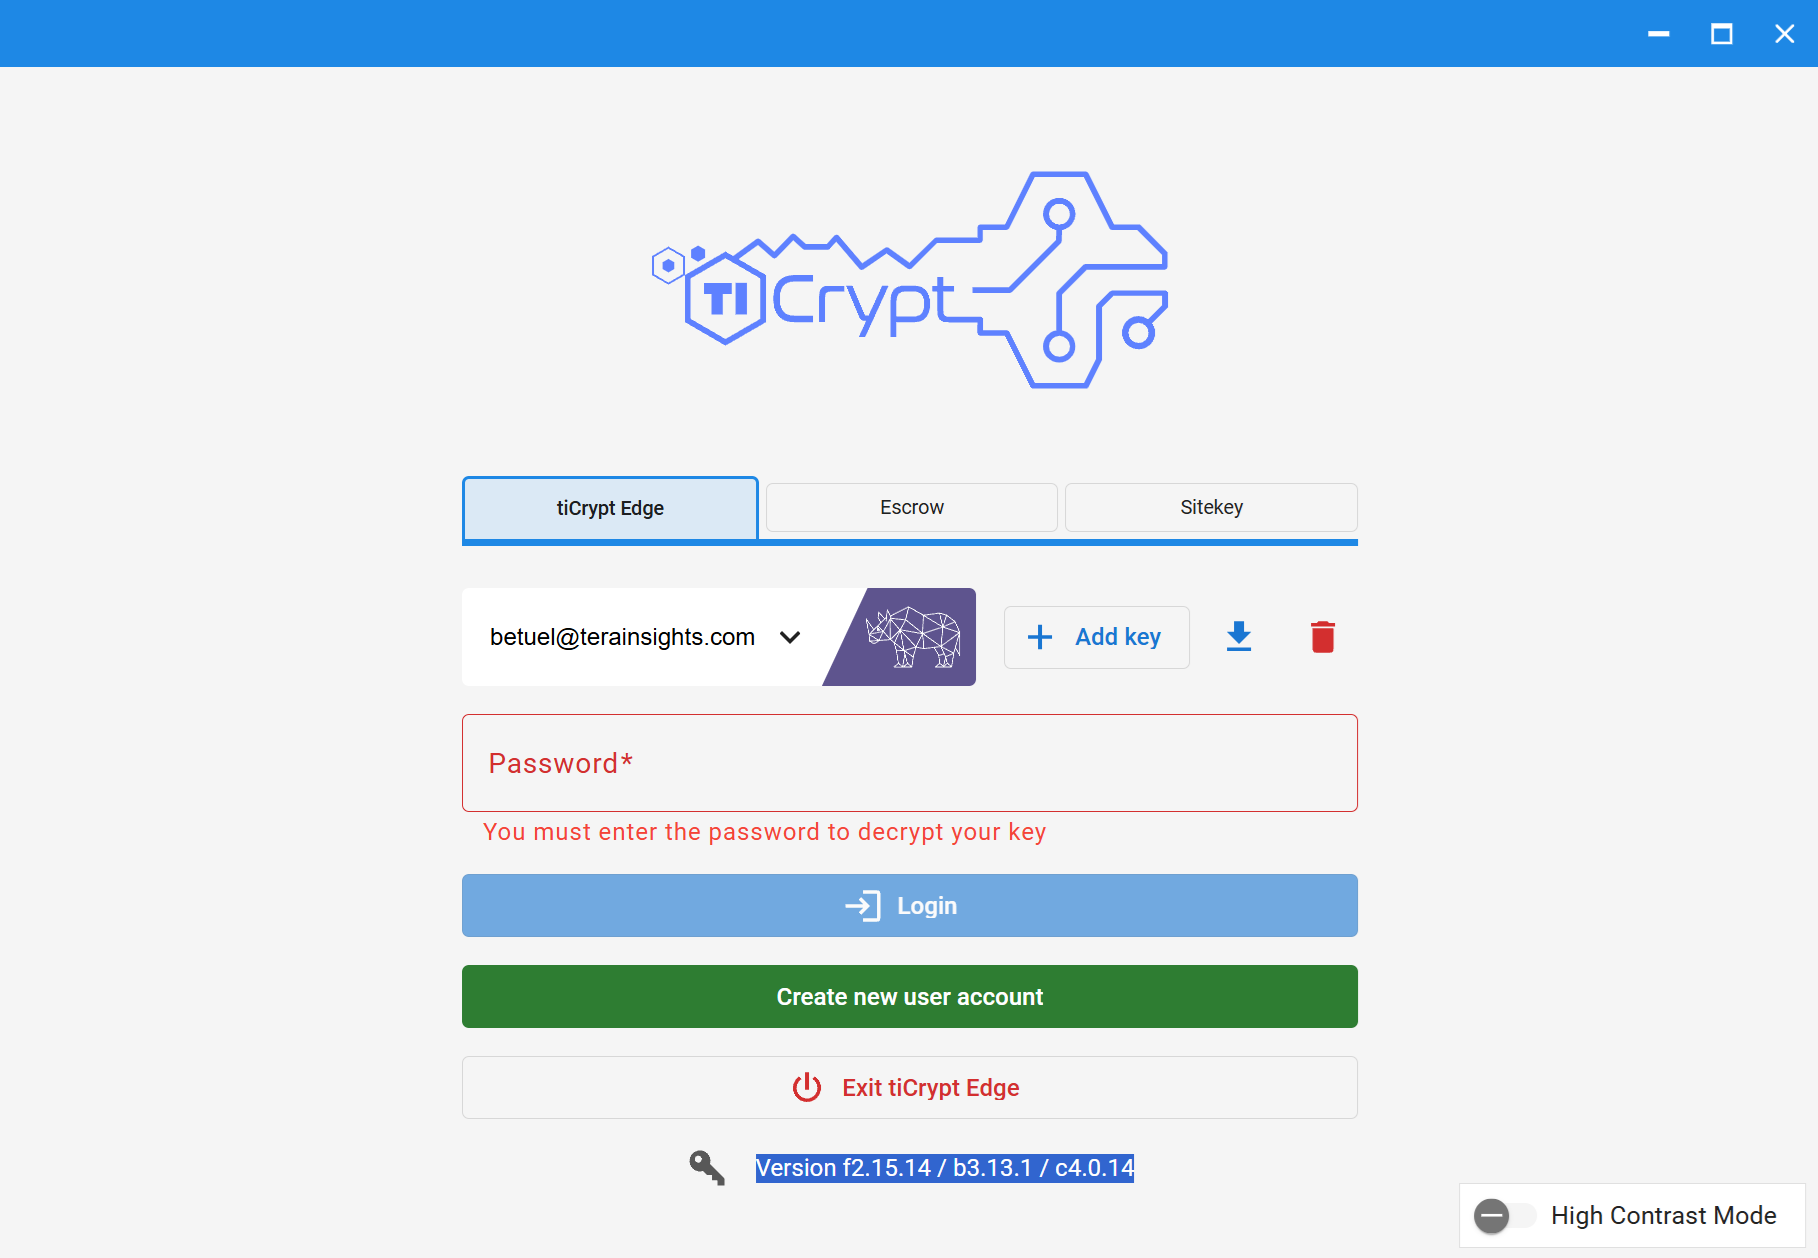
Confirmations, Errors & Solutions
▶View More
Add Additional Private Keys into tiCrypt
- Open the Connect Application provided by your institution or the Tera Insights team.
- Select the appropriate deployment card.
- In the login page, click the Add key button in the center right.
- In the local prompt, find and select the additional private key file
user-name(mm-dd-yy).key. - Click Open.
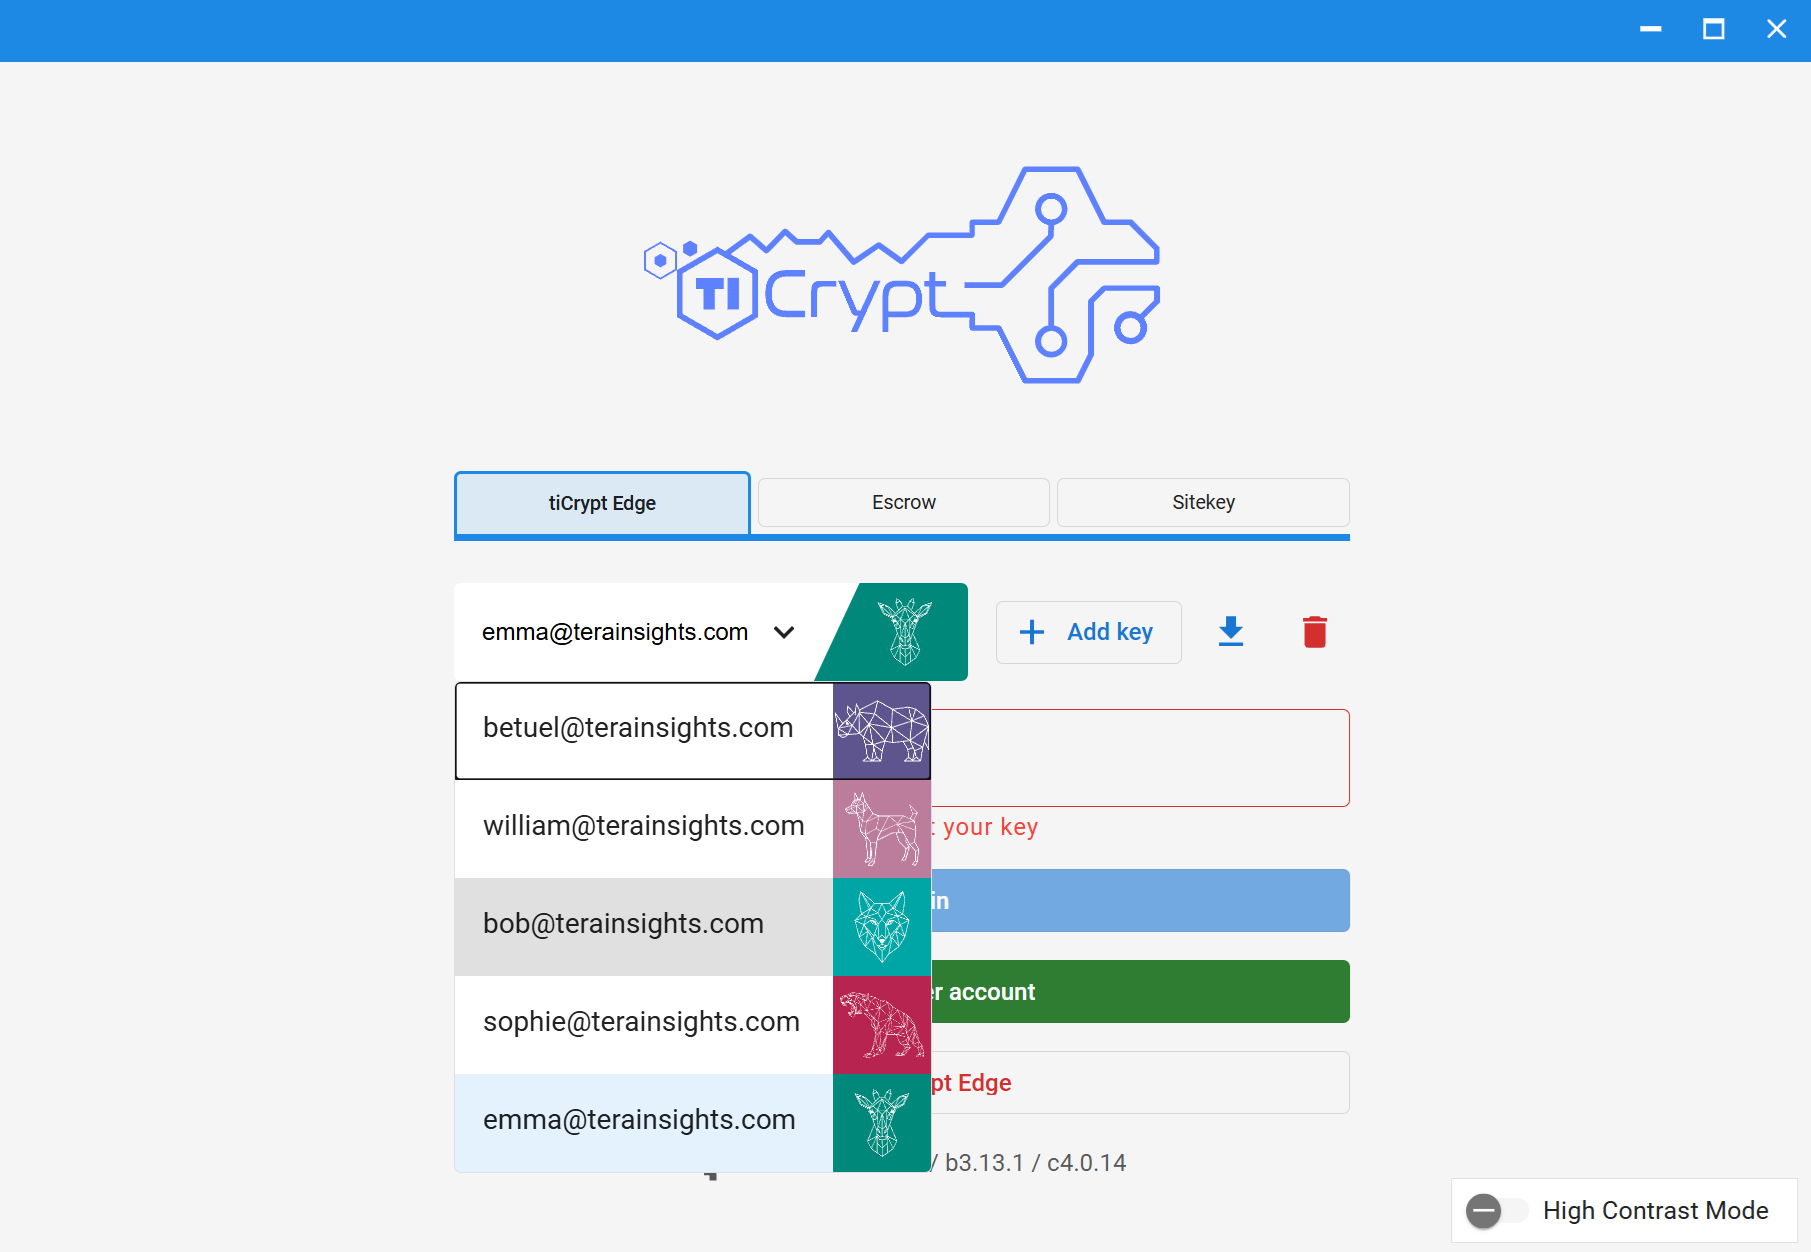
Switch Between Private Keys in tiCrypt
- Open the Connect Application provided by your institution or the Tera Insights team.
- Select the appropriate deployment card.
- In the login page, view the selected key in the center left.
- Click the Dropdown button next the the user name and user icon in the center.
- Select a distinct user name from the list.
- Enter the corresponding private key password.
- Click the Login button below.
Download Private Key Locally
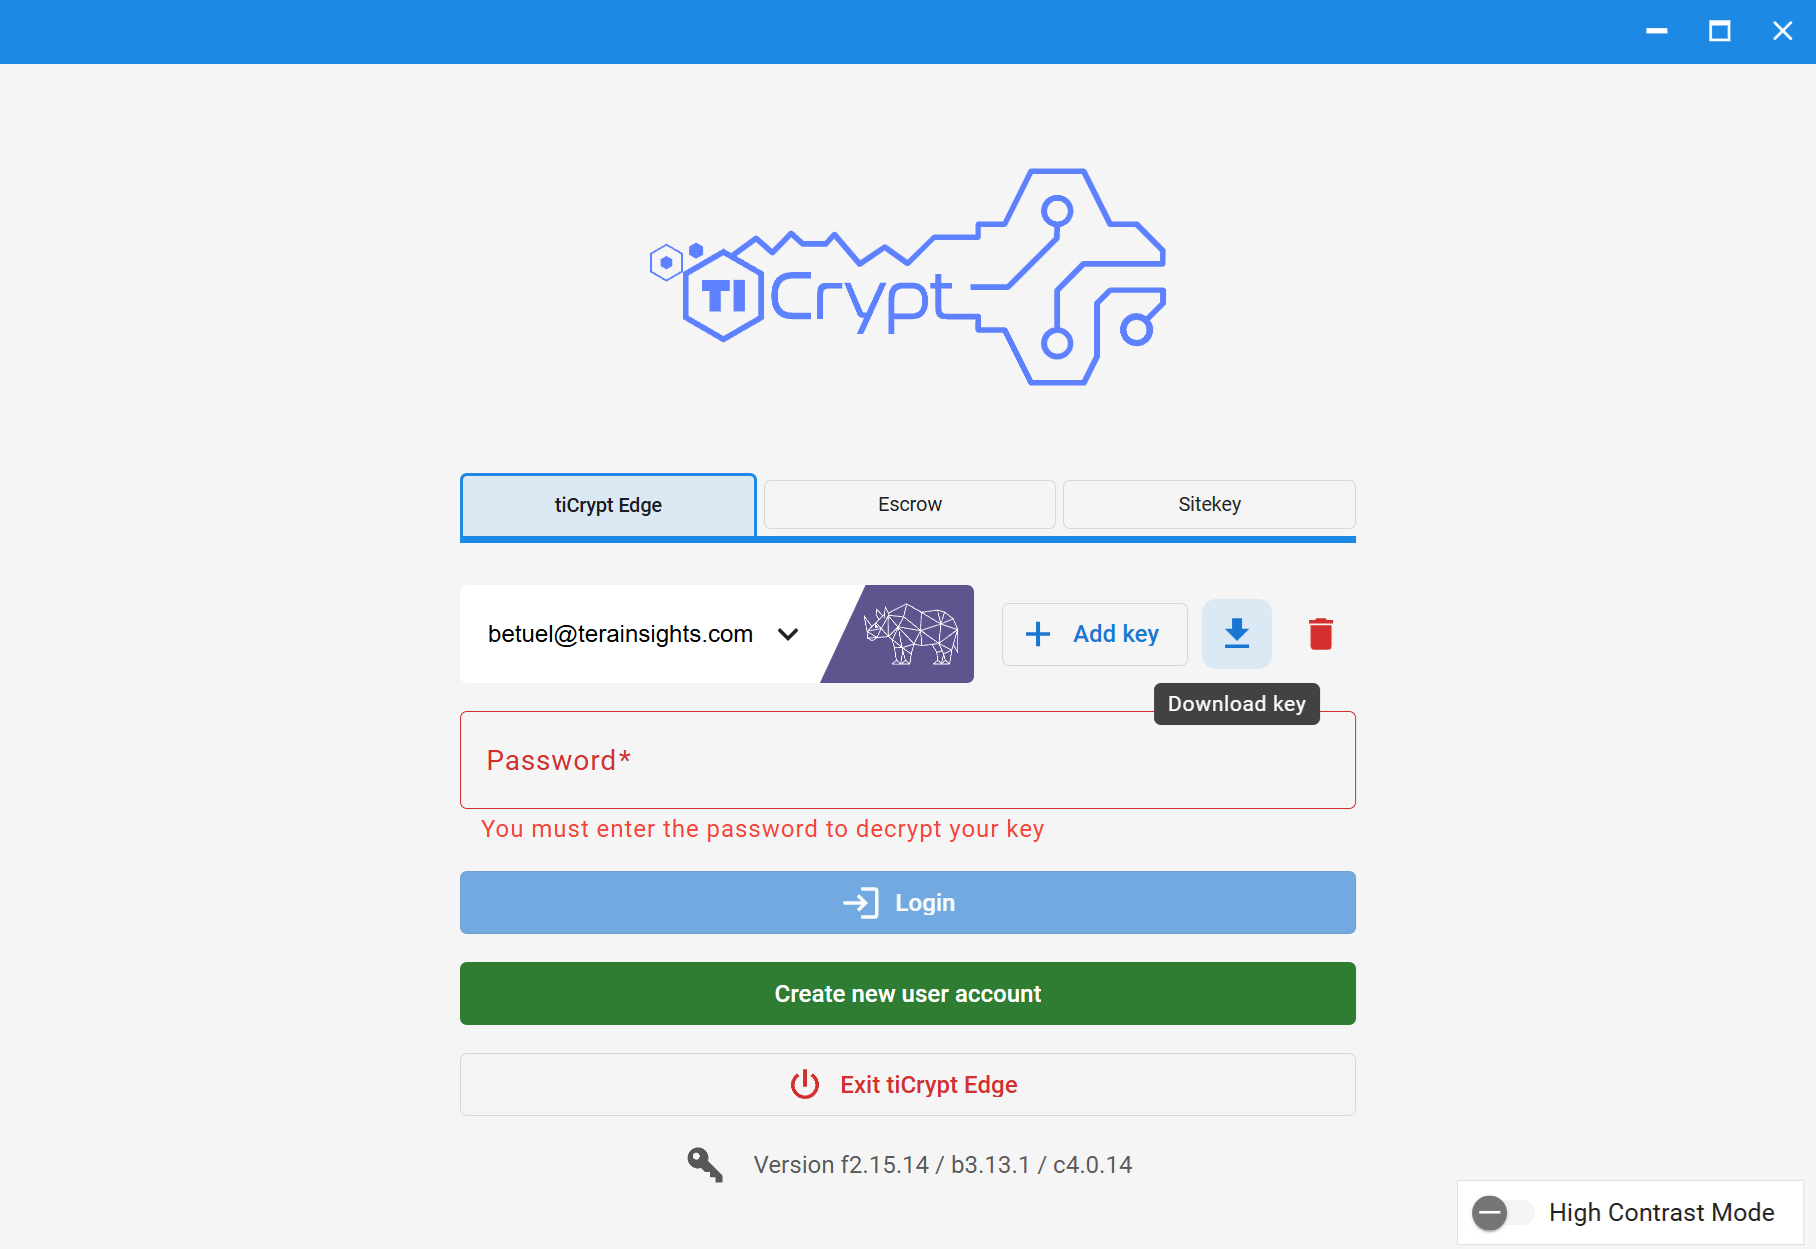
- Open the Connect Application provided by your institution or the Tera Insights team.
- Select the appropriate deployment card.
- In the login page, view the selected key in the center left.
- Click the Download button in the center right.
- In the local prompt, select the local directory to download the private key file
user-name(mm-dd-yy).key. - Click Save.
Delete Private Key from tiCrypt
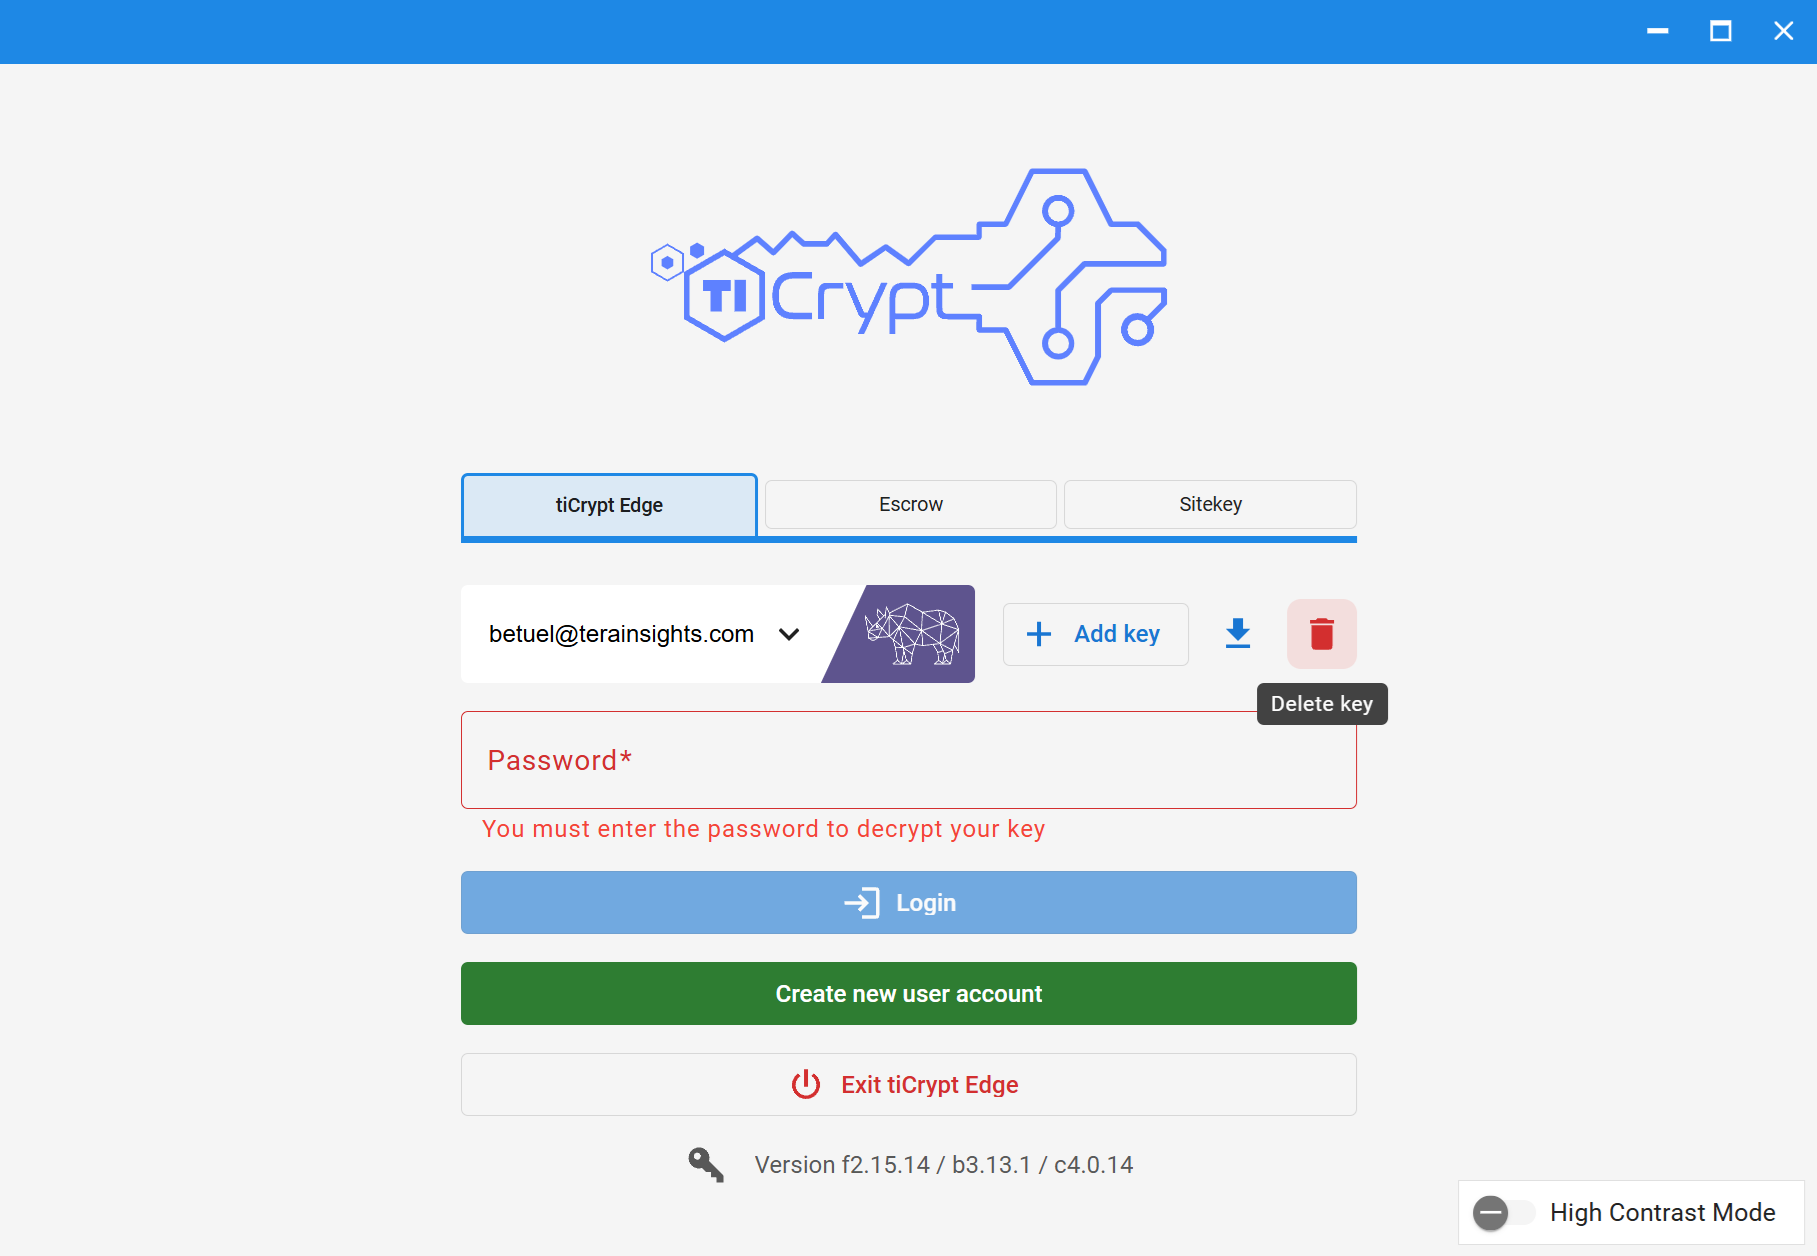
- Open the Connect Application provided by your institution or the Tera Insights team.
- Select the appropriate deployment card.
- In the login page, view the selected key in the center left.
- Click the Delete button in the center right.
Change User Private Key Icon in tiCrypt
You cannot change your private key icon in tiCrypt. The icon is generated and attributed randomly to each user. To generate a distinct private key icon, create a new tiCrypt account.
Switch Between Deployments in tiCrypt
- Open the Connect Application provided by your institution or the Tera Insights team.
- Select the first deployment card.
- In the login page, click the Exit tiCrypt Edge button below.
- Select the second deployment card.
- View the login page for the selected deployment card.
View tiCrypt Front-End, Back-End and Connect Versions from Login Page
- Open the Connect Application provided by your institution or the Tera Insights team.
- Select the appropriate deployment card.
- In the login page, next to the Key symbol, view the current tiCrypt:
- Front-end
f-your-front-end-version. - Back-end
b-your-back-end-version. - Connect App
c-your-connect-app-version.
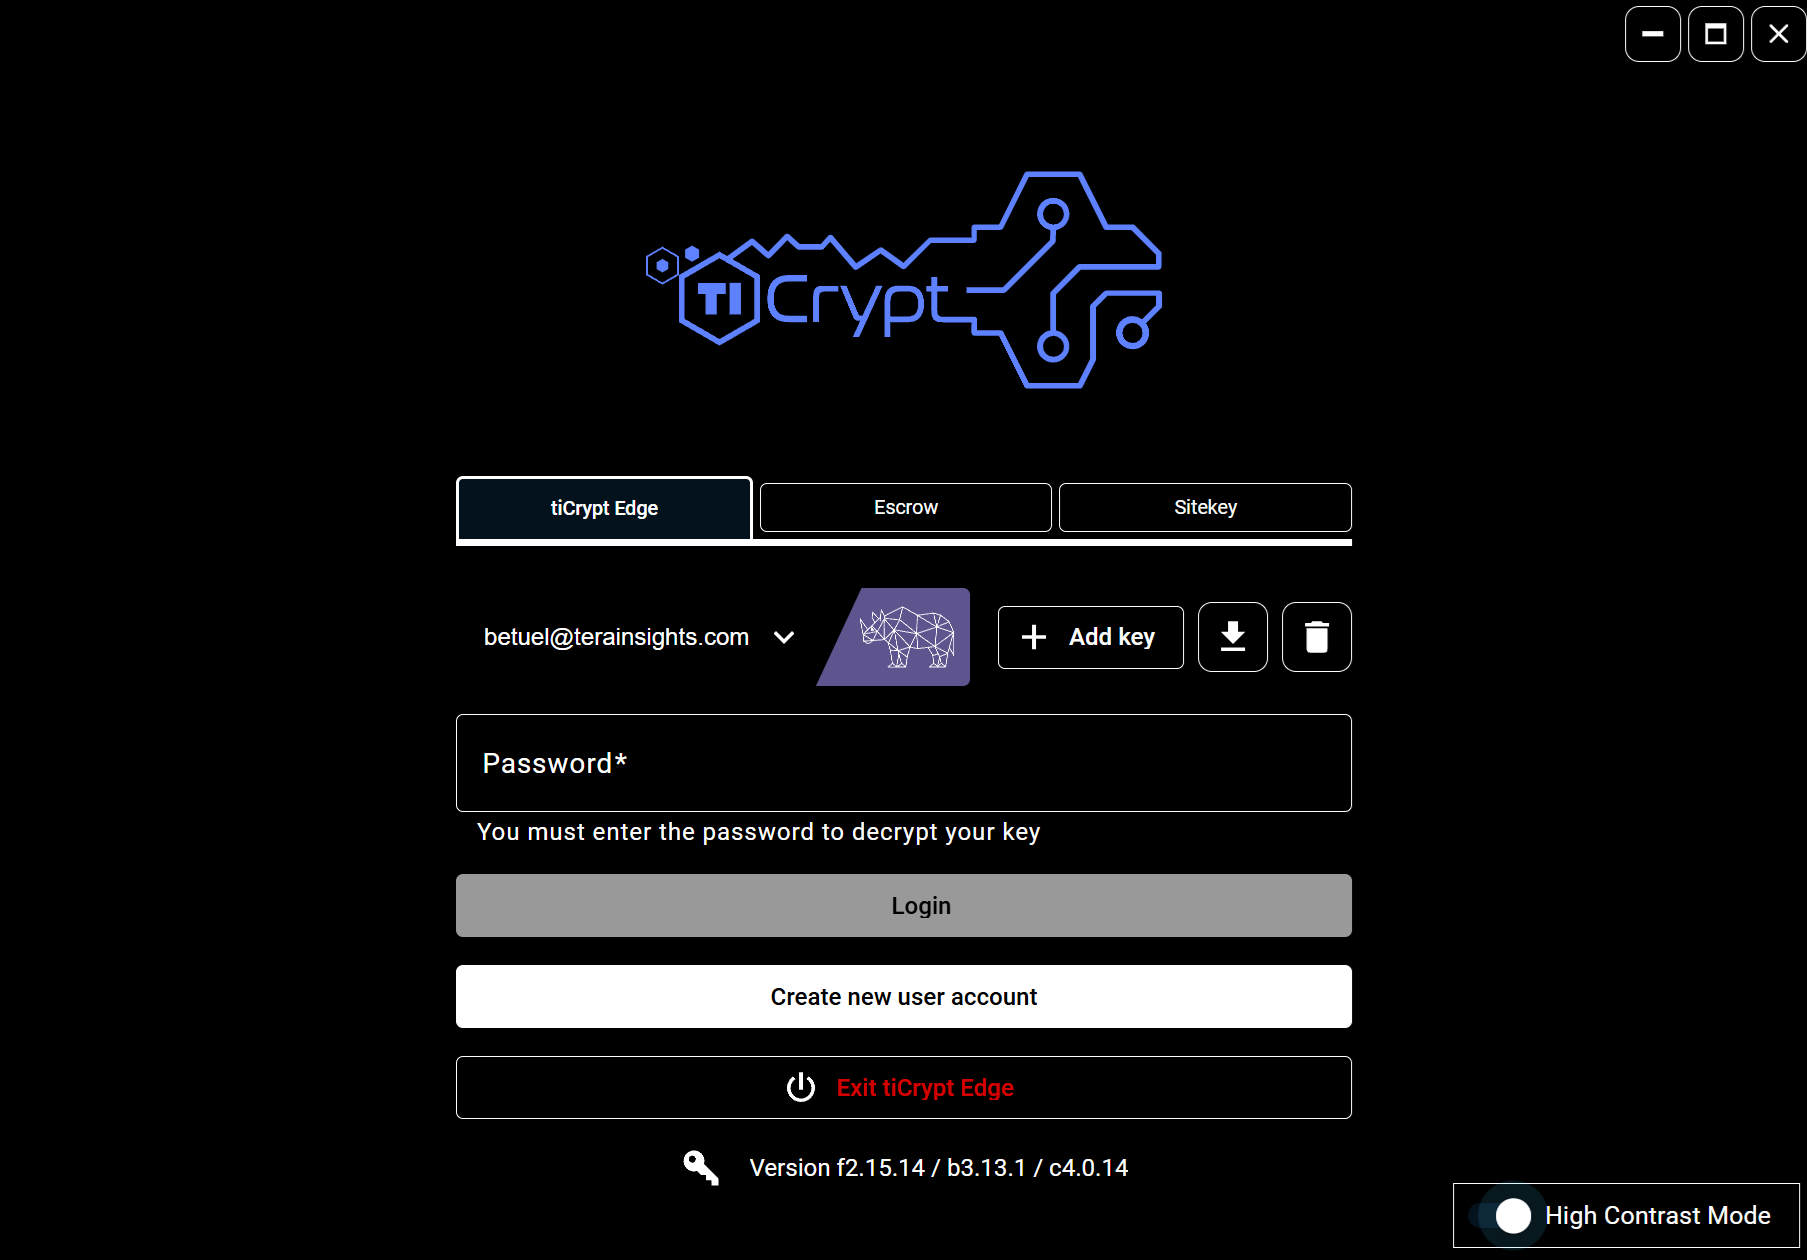
Switch to High Contrast WCAG Compliant Mode for Impaired Viewers
- Open the Connect Application provided by your institution or the Tera Insights team.
- Select the appropriate deployment card.
- In the login page, click the High Contrast Mode button in the bottom right.
tip
You may also turn on the High Contrast Mode from your User Settings when logged into tiCrypt.