User Profiles
User Profiles
User profiles can be created within the system to “stamp” accounts at any point. Instead of having to set each permission individually, an admin can set a profile or template for the account. Profiles speed up the onboarding process and ensures that mistakes are not made with permissions. Additionally, if a permission is ever added, changes in the profile will be inherited by users with that profile.
The system will track if duplicate profiles are ever created.
To explain user profiles with an example; an admin may manage a large group of users and of those users, most of them make up 1 of 2 users. The first may have all vault permissions, but only project creation permissions in the management tab. The second user may have everything in vault but groups, and everything about teams and one thing about projects. Instead of the admin tediously granting specific roles and permissions to each of these already determined users, the admin can simply use the user profile upon creation.
In order to create a user profile a user must select the plus icon located at the top right of the user profiles tab. A modal will appear that prompts the user to give the profile a name, and all of the permissions. Next time a user is in activation, the admin can use the profile rather than going through each dropdown.
A user profile can be edited or deleted by selecting the name of the user profile and utilizing the info panel that opens to the left.
Users can be given a profile at any point. Understand that if the role of the profile is not the same as the user in which you would like to apply the profile to, it will not work.
Users can be given profiles by selecting one or more of the checkboxes in the "All Users" tab and then clicking the button on the top right corner as seen in the video below.
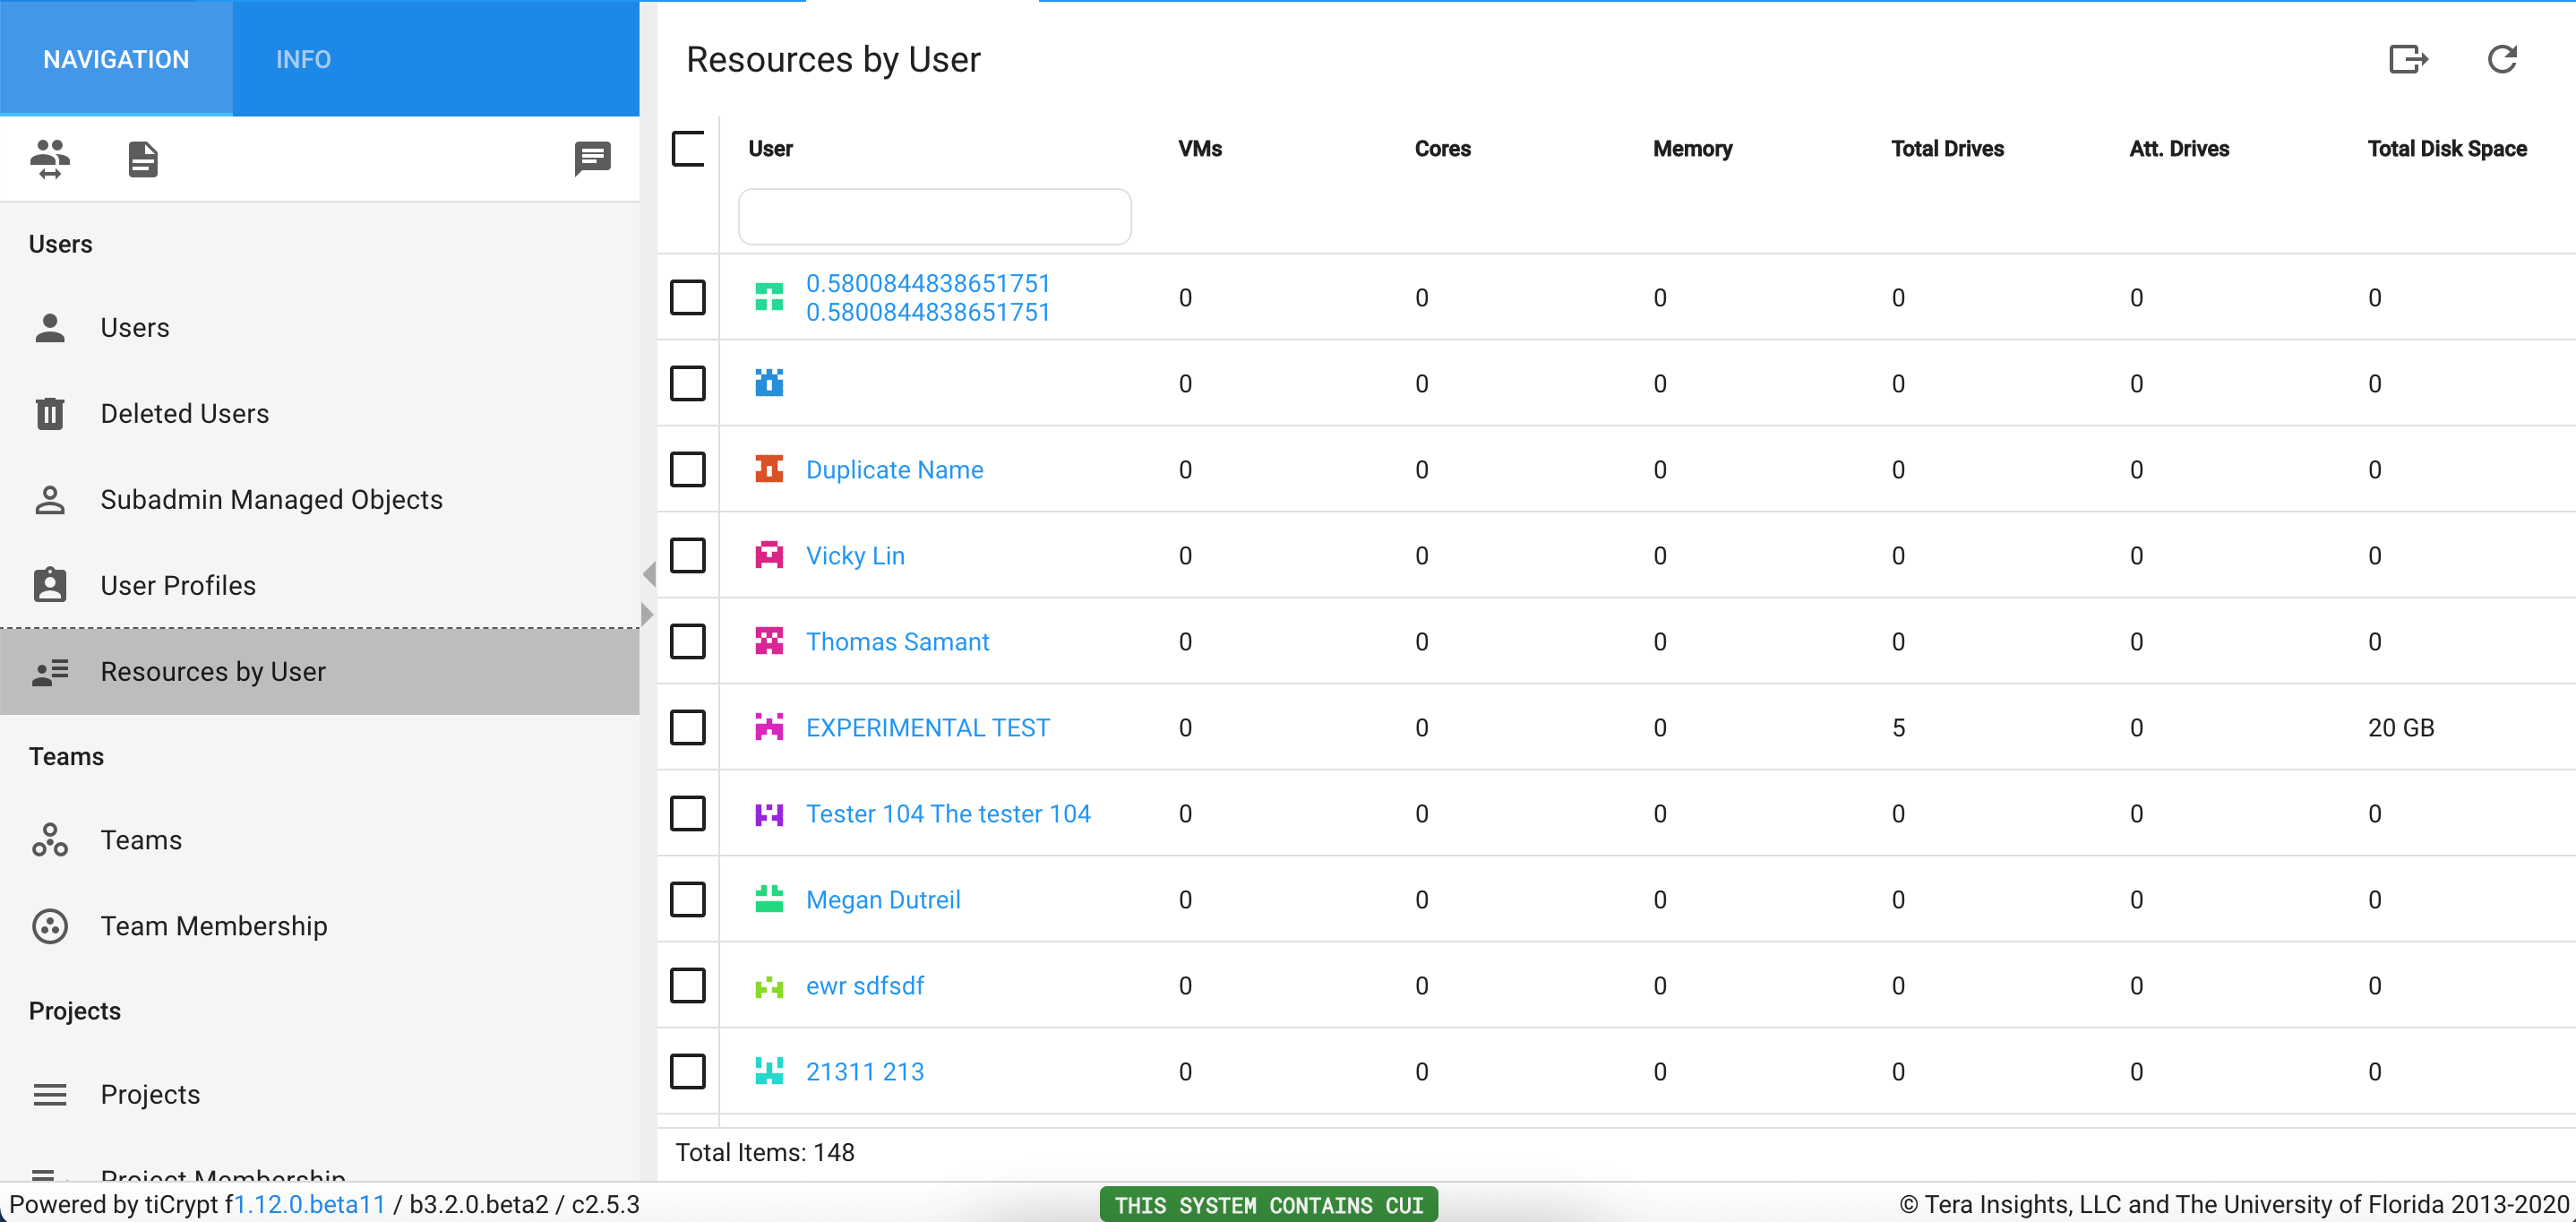
Resources by User
Users can view how much VM memory, VM drive size, and vault storage a user has used.