Create or Edit Project
Access
To create, edit, or manage a project navigate to the Management panel and select the "Projects" tab.
To create a new project click the icon located in the top right corner.
To edit a pre-existing project level select the icon and select .
The icon also can prompt the creation of sub-projects, project deletion, managing projects, and sending messages to all project members.
Purpose
These modals allow for the creation, editing, and management of projects.
Specific tasks that can be accomplished are:
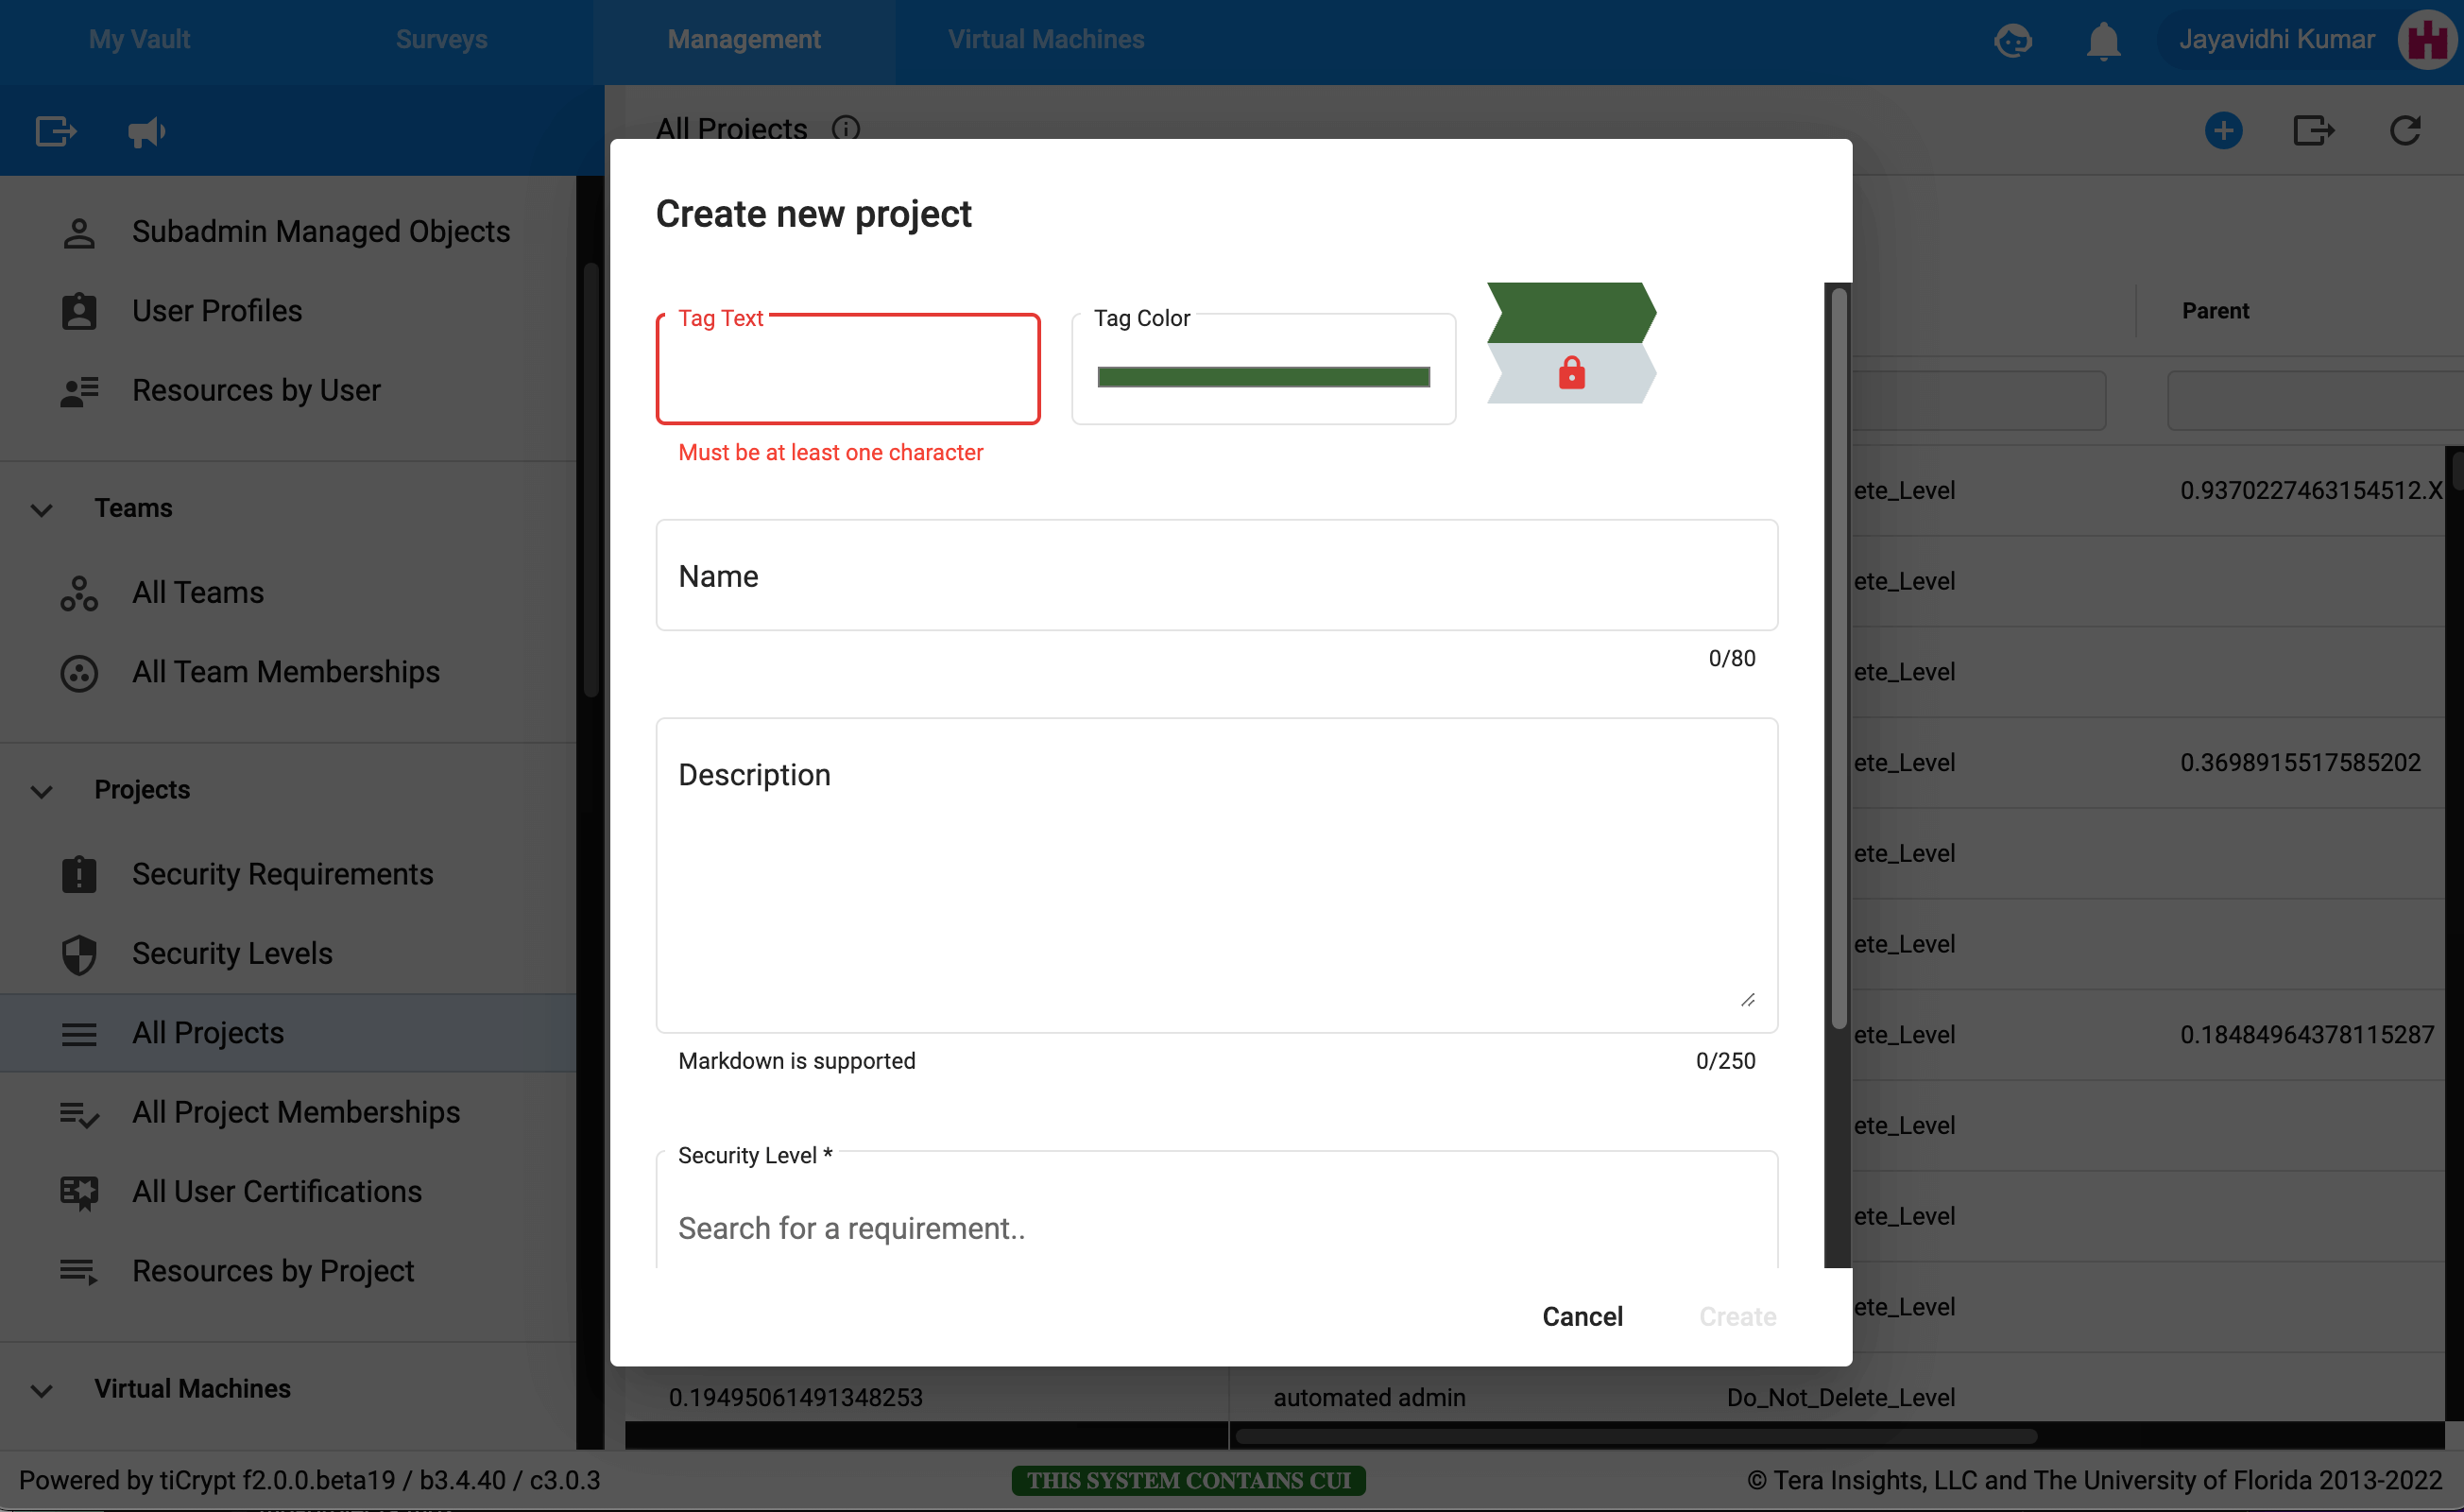
Creating a new project
Click the icon located in the top right corner.
Add a name to the project you wish to create.
Set a color for the project icon and a two-character abbreviation to appear in the icon. This icon will appear when a resource has been tagged with a project tag.
Add a description to the project.
Select the project you wish to add to the project Remember you can select the "None" requirement if the requirement has been created. In addition, remember a project may only have one project assigned to it.
Click on in the lower right corner to create a new project.
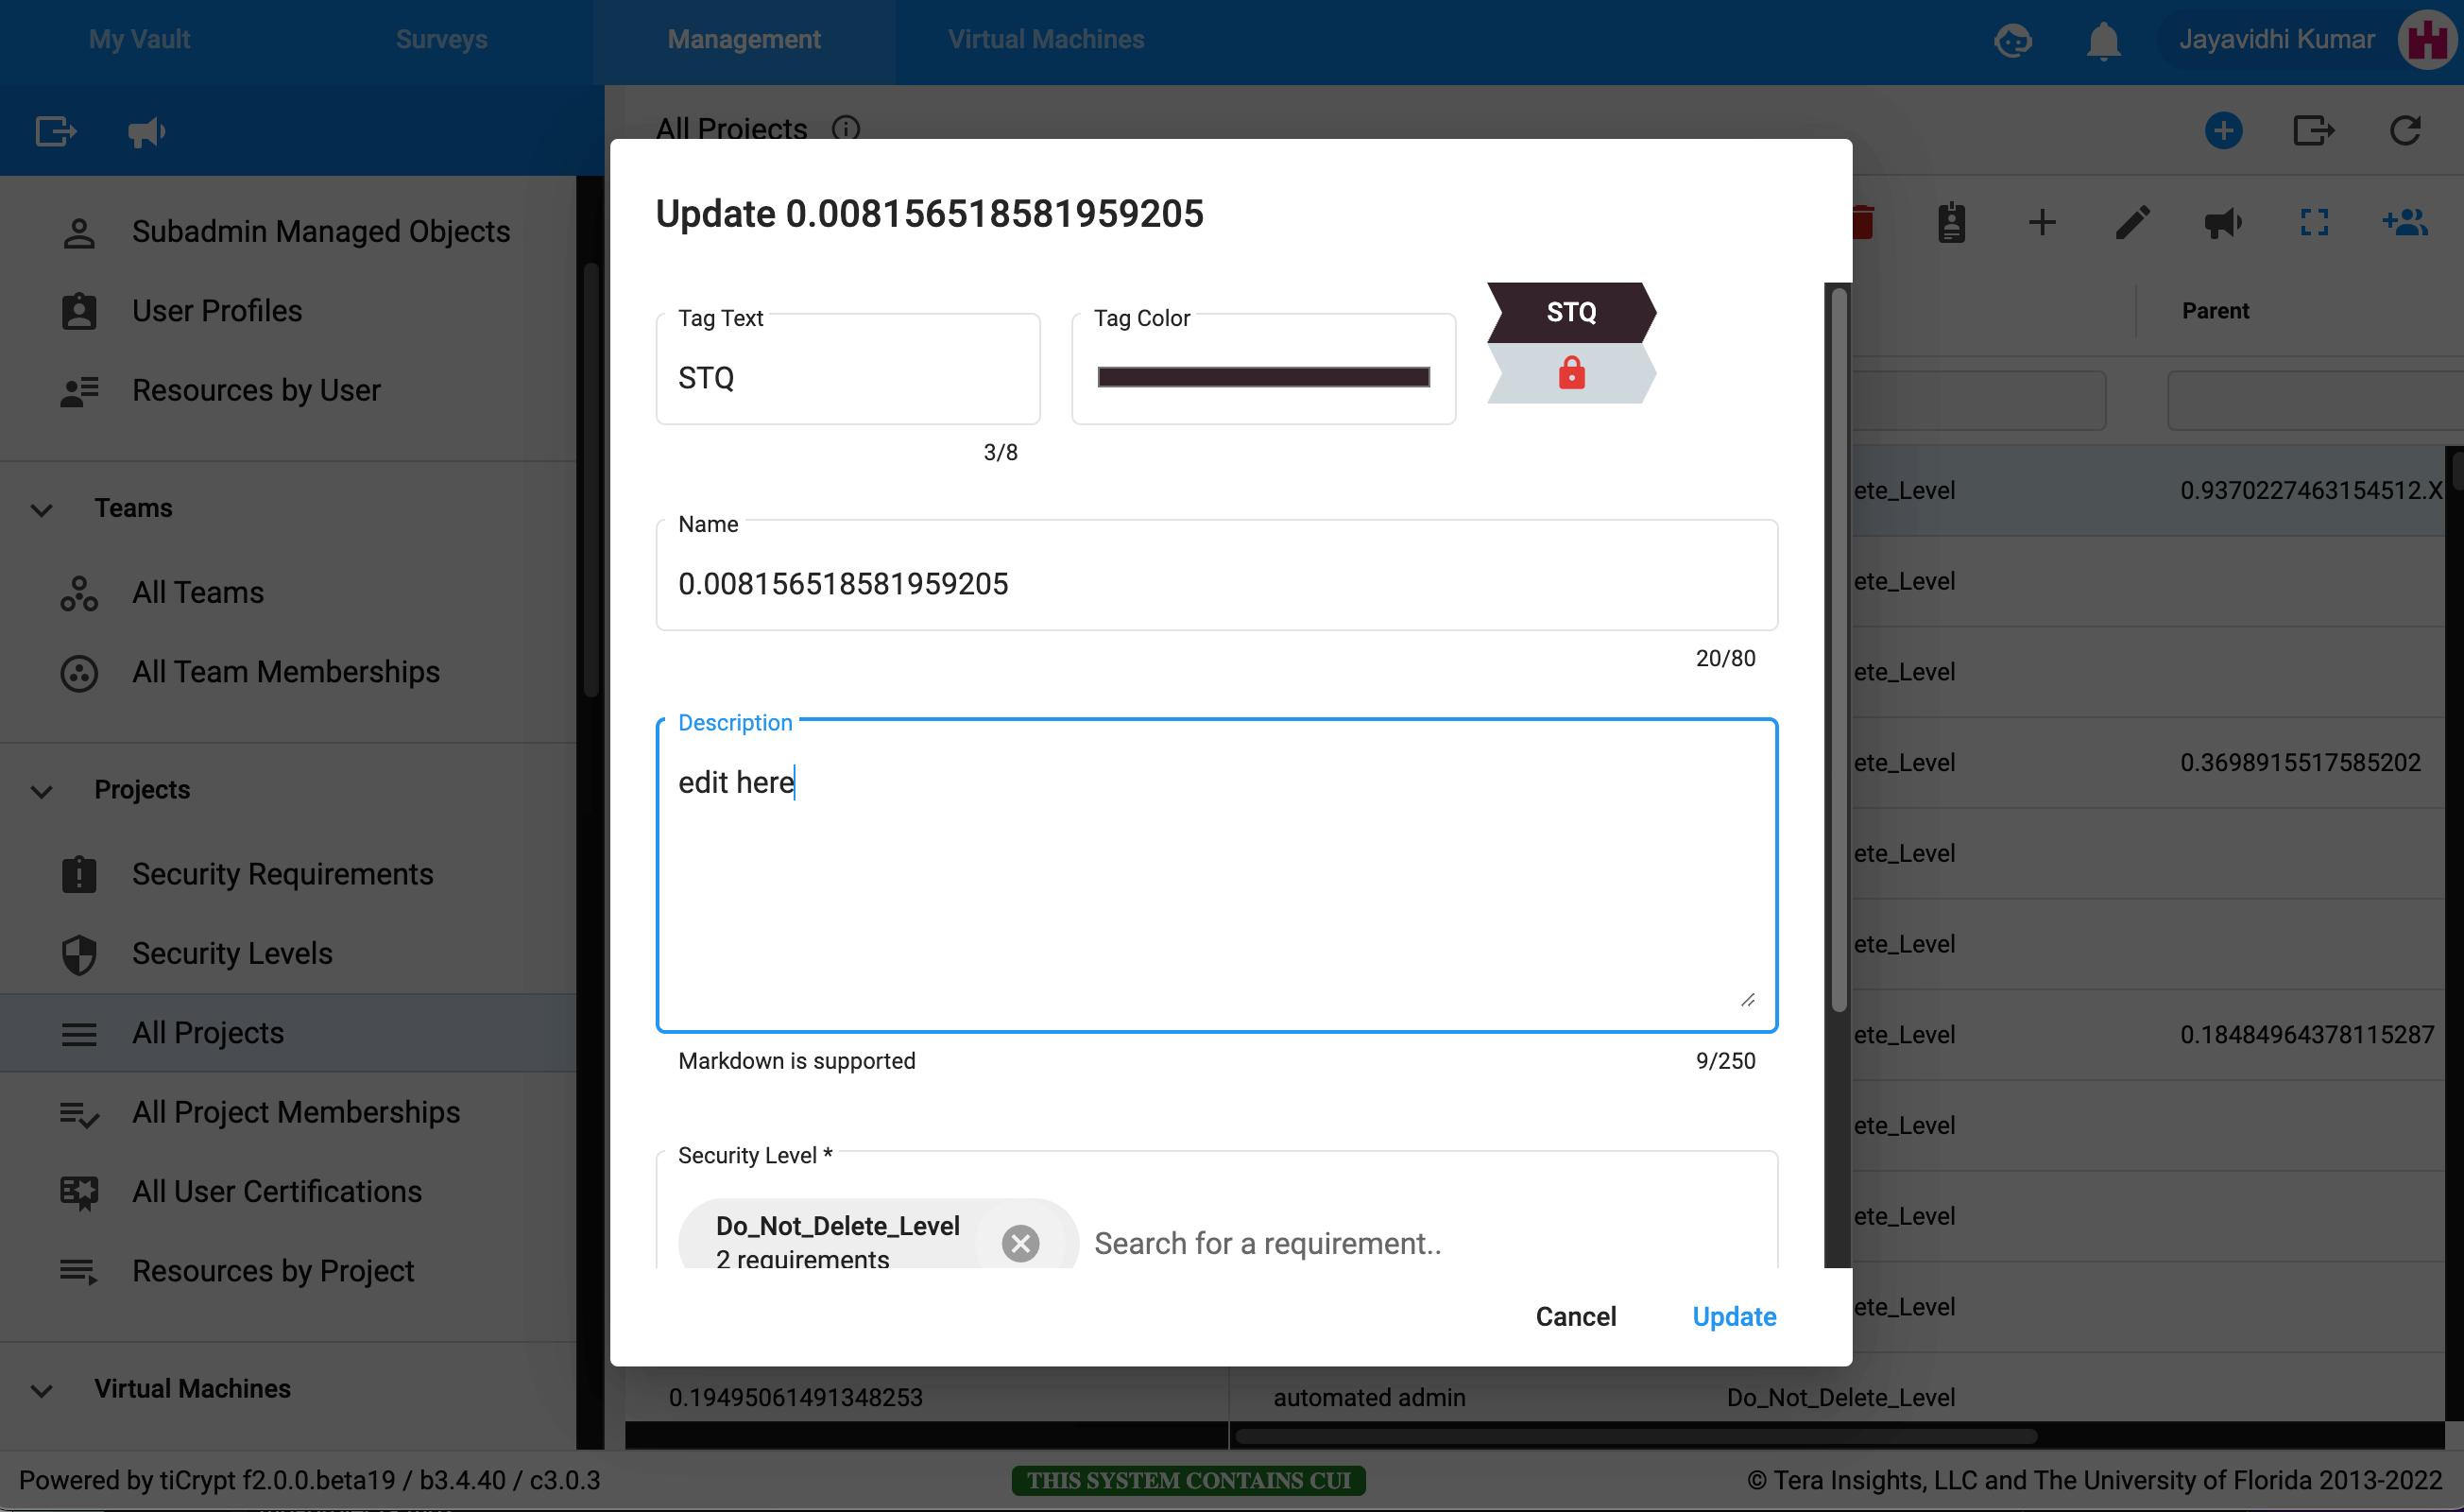
Editing a project
To edit a pre-existing project select the icon corresponding to the project you wish to edit.
Select the
The project modal will re-appear for you to make any edits.
Click on in the lower right corner to make any updates to the project.